Creality Sprite Extruder-Only Upgrade: Install Guide
Note: Creality Experts receives a commission for items you purchase from this page, at no additional cost to you. For more information, please see our affiliate link policy.
The Sprite Extruder-Only kit installed on an Ender 3 V2.
In this article, we’ll explain how to install the Creality Sprite Extruder-Only upgrade, sometimes known as the Sprite SE, on a Creality Ender 3 V2. This extruder-only kit does not include a hot end and uses your printer’s existing hot end, but is much lower cost and much simpler to install than the full Sprite Pro upgrade. More details on the full Sprite upgrade are available in our Sprite Pro Extruder Upgrade Guide.
This guide covers the step-by-step installation process based on our install on an Ender 3 V2. If you are using a different printer, the steps may be slightly different, but the general process will be the same. The Sprite extruder-only upgrade kit works on several Creality 3D printers, but is unsupported on some models, shown in the table below. Additionally, it is not necessary for printers which come with a Sprite extruder, such as the CR-10 Smart series, Ender S1 series, or Ender 3 V3 SE/KE.
It’s important to note that there are two kits available, which each include a different metal adapter to mount the extruder on the printer. Make sure you choose the one that fits your 3D printer using this table:
Standard Kit (view on Amazon):
CR-10
CR-10S/S4/S5
Ender 3
Ender 3 Pro
Ender 3 V2
Ender 5
Ender 5 Pro
Ender 5 Plus
Neo Kit (view on Amazon):
Ender 3 Neo
Ender 3 V2 Neo
Ender 3 Max Neo
Not Supported:
Ender 3 Max
Why Install the Sprite Extruder-Only kit?
The Sprite extruder was first introduced on the Ender 3 S1 and is Creality’s first direct-drive extruder. In contrast to Bowden-style extruders which push filament through a long tube to the hot end, the Sprite combines the extruder and hot end into a single assembly. This approach makes the Sprite more reliable and less likely to jam than Creality’s other extruders and hot ends, as well as making it better suited to printing with flexible materials such as TPU. In our experience, the Sprite extruder is noticeably more reliable than our other Creality extruders, making it a worthwhile upgrade.
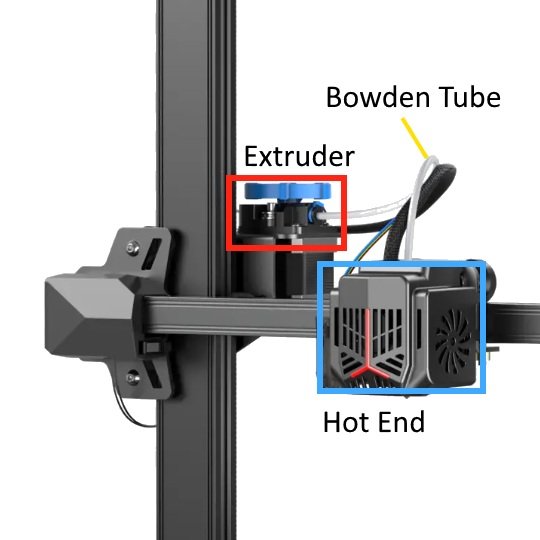
Many Creality 3D printers use a Bowden extruder, with a tube between the extruder and hot end.
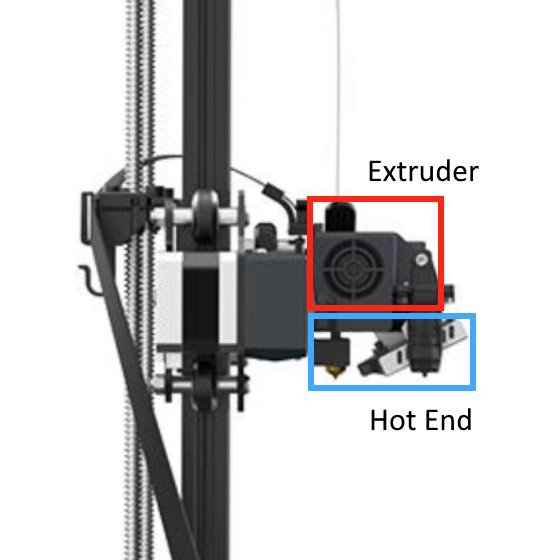
The Sprite extruder is direct drive, where both the extruder and hot end are combined into a single assembly.
Since this kit is an extruder-only upgrade, it does not use the hot end portion of the original Sprite design. Due to this, the extruder is positioned somewhat further from the hot end than in the full Sprite extruder. While this does reduce the benefits of direct drive to some degree, we have not noticed a significant difference in performance and have found this kit to perform much better than a Bowden extruder.
Installing the Creality Sprite Extruder-Only Upgrade
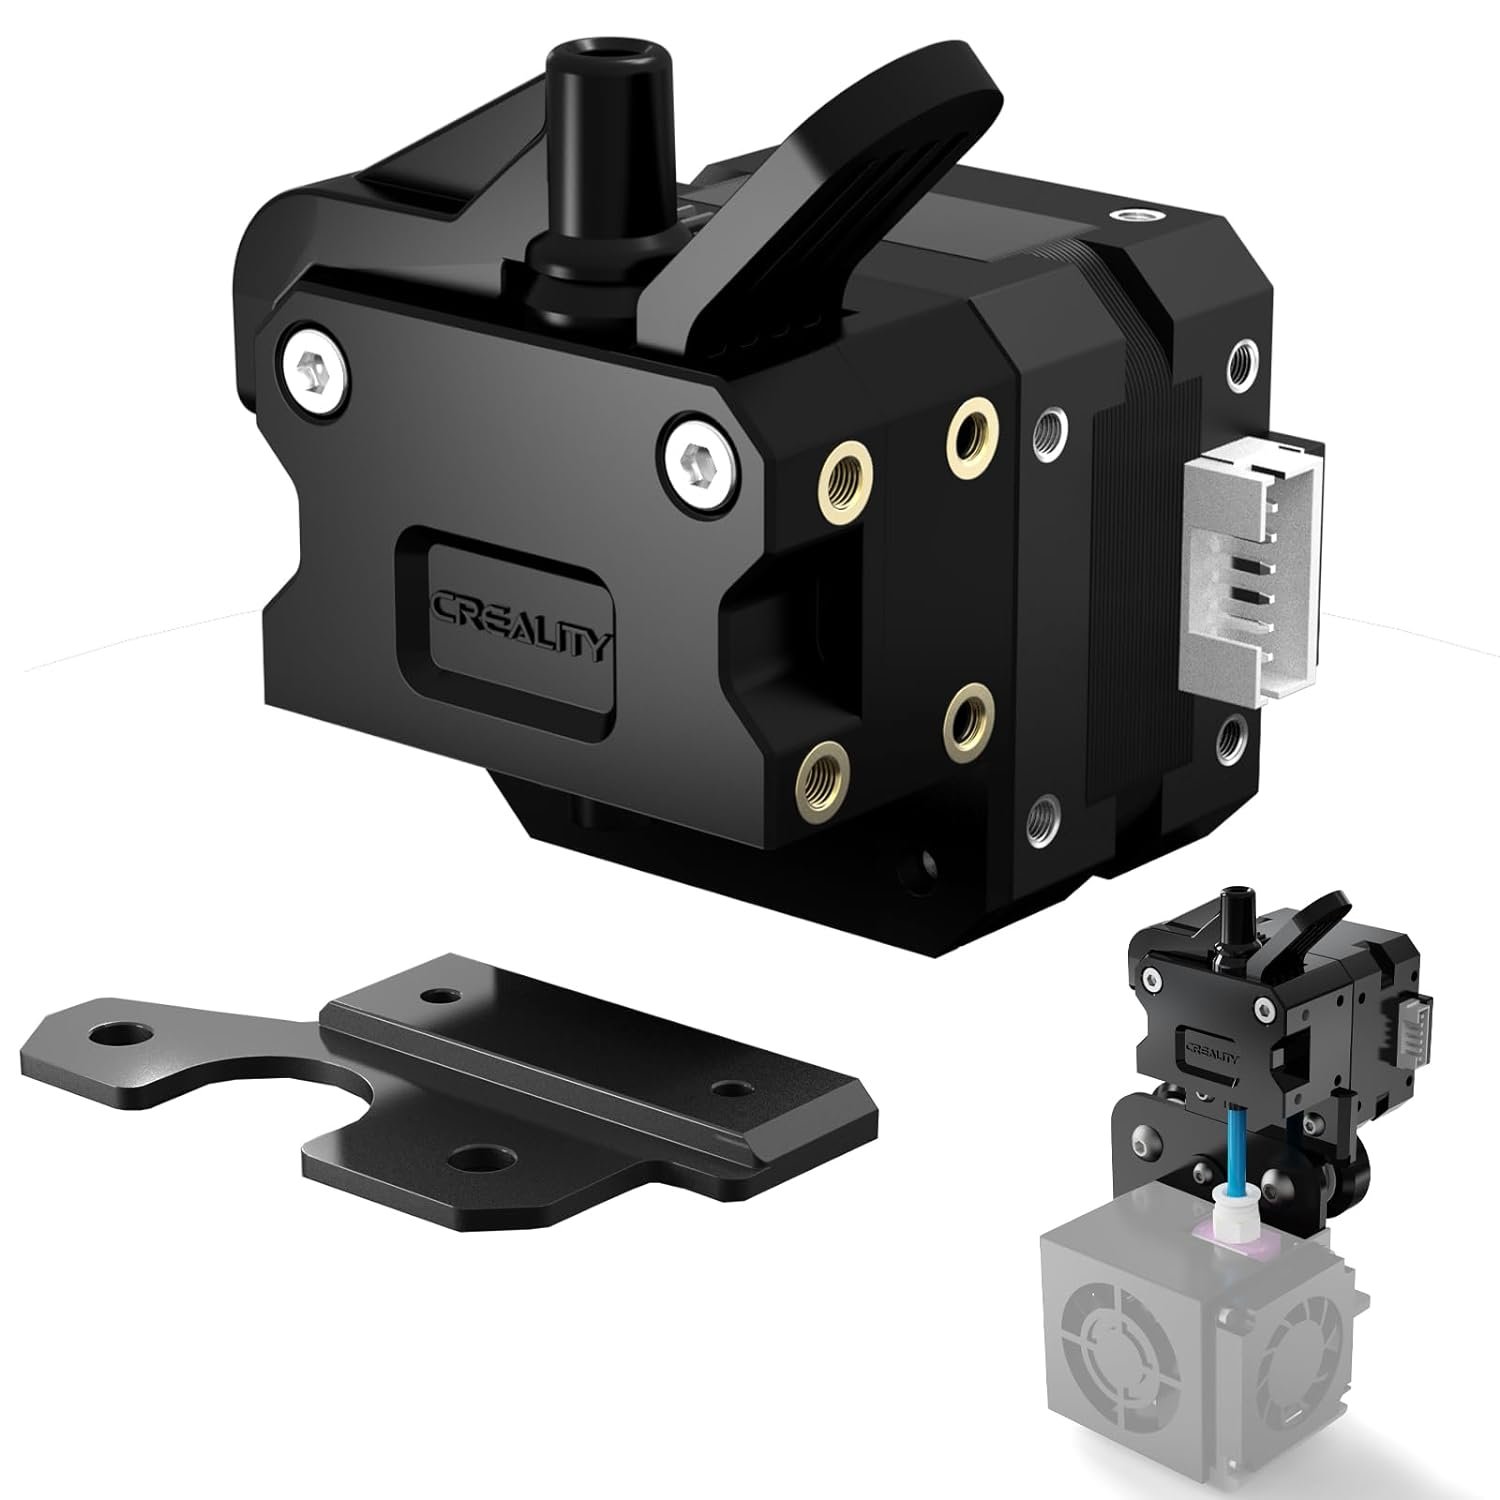
The Sprite extruder-only upgrade kit comes with everything you’ll need to upgrade the extruder on your Creality printer.
The installation process for the Sprite extruder-only upgrade is fairly simple, and is an easier upgrade than the full Sprite kit since there is only a single cable to reconnect. The process does require some disassembly of the hot end in order to mount the adapter, which we will cover in detail here.
Required Tools
You’ll need to use some of the tools that came with your 3D printer for this upgrade:
Allen wrenches (2.5, 3, and 3.5mm)
Wrench
Nippers
Hardware Installation
1. Remove the hot end enclosure. This will vary depending on your printer, but there are typically 1-2 screws you’ll need to remove. Once the enclosure is loose, set it aside, but be careful of the fan wires.
Enclosure removal for CR-series (left) and Ender 3 V2 (right).
2. Remove the PTFE coupler from the top of the hot end using the larger side of the wrench. Make sure you have unloaded any filament before this step. You may need to heat the hot end to remove the tubing.
If there is a lot of residue on the end of the tube, we recommend doing a PTFE pushthrough before proceeding with the install. This will clear out any blockages from the hot end and reduce the risk of jams in the future.
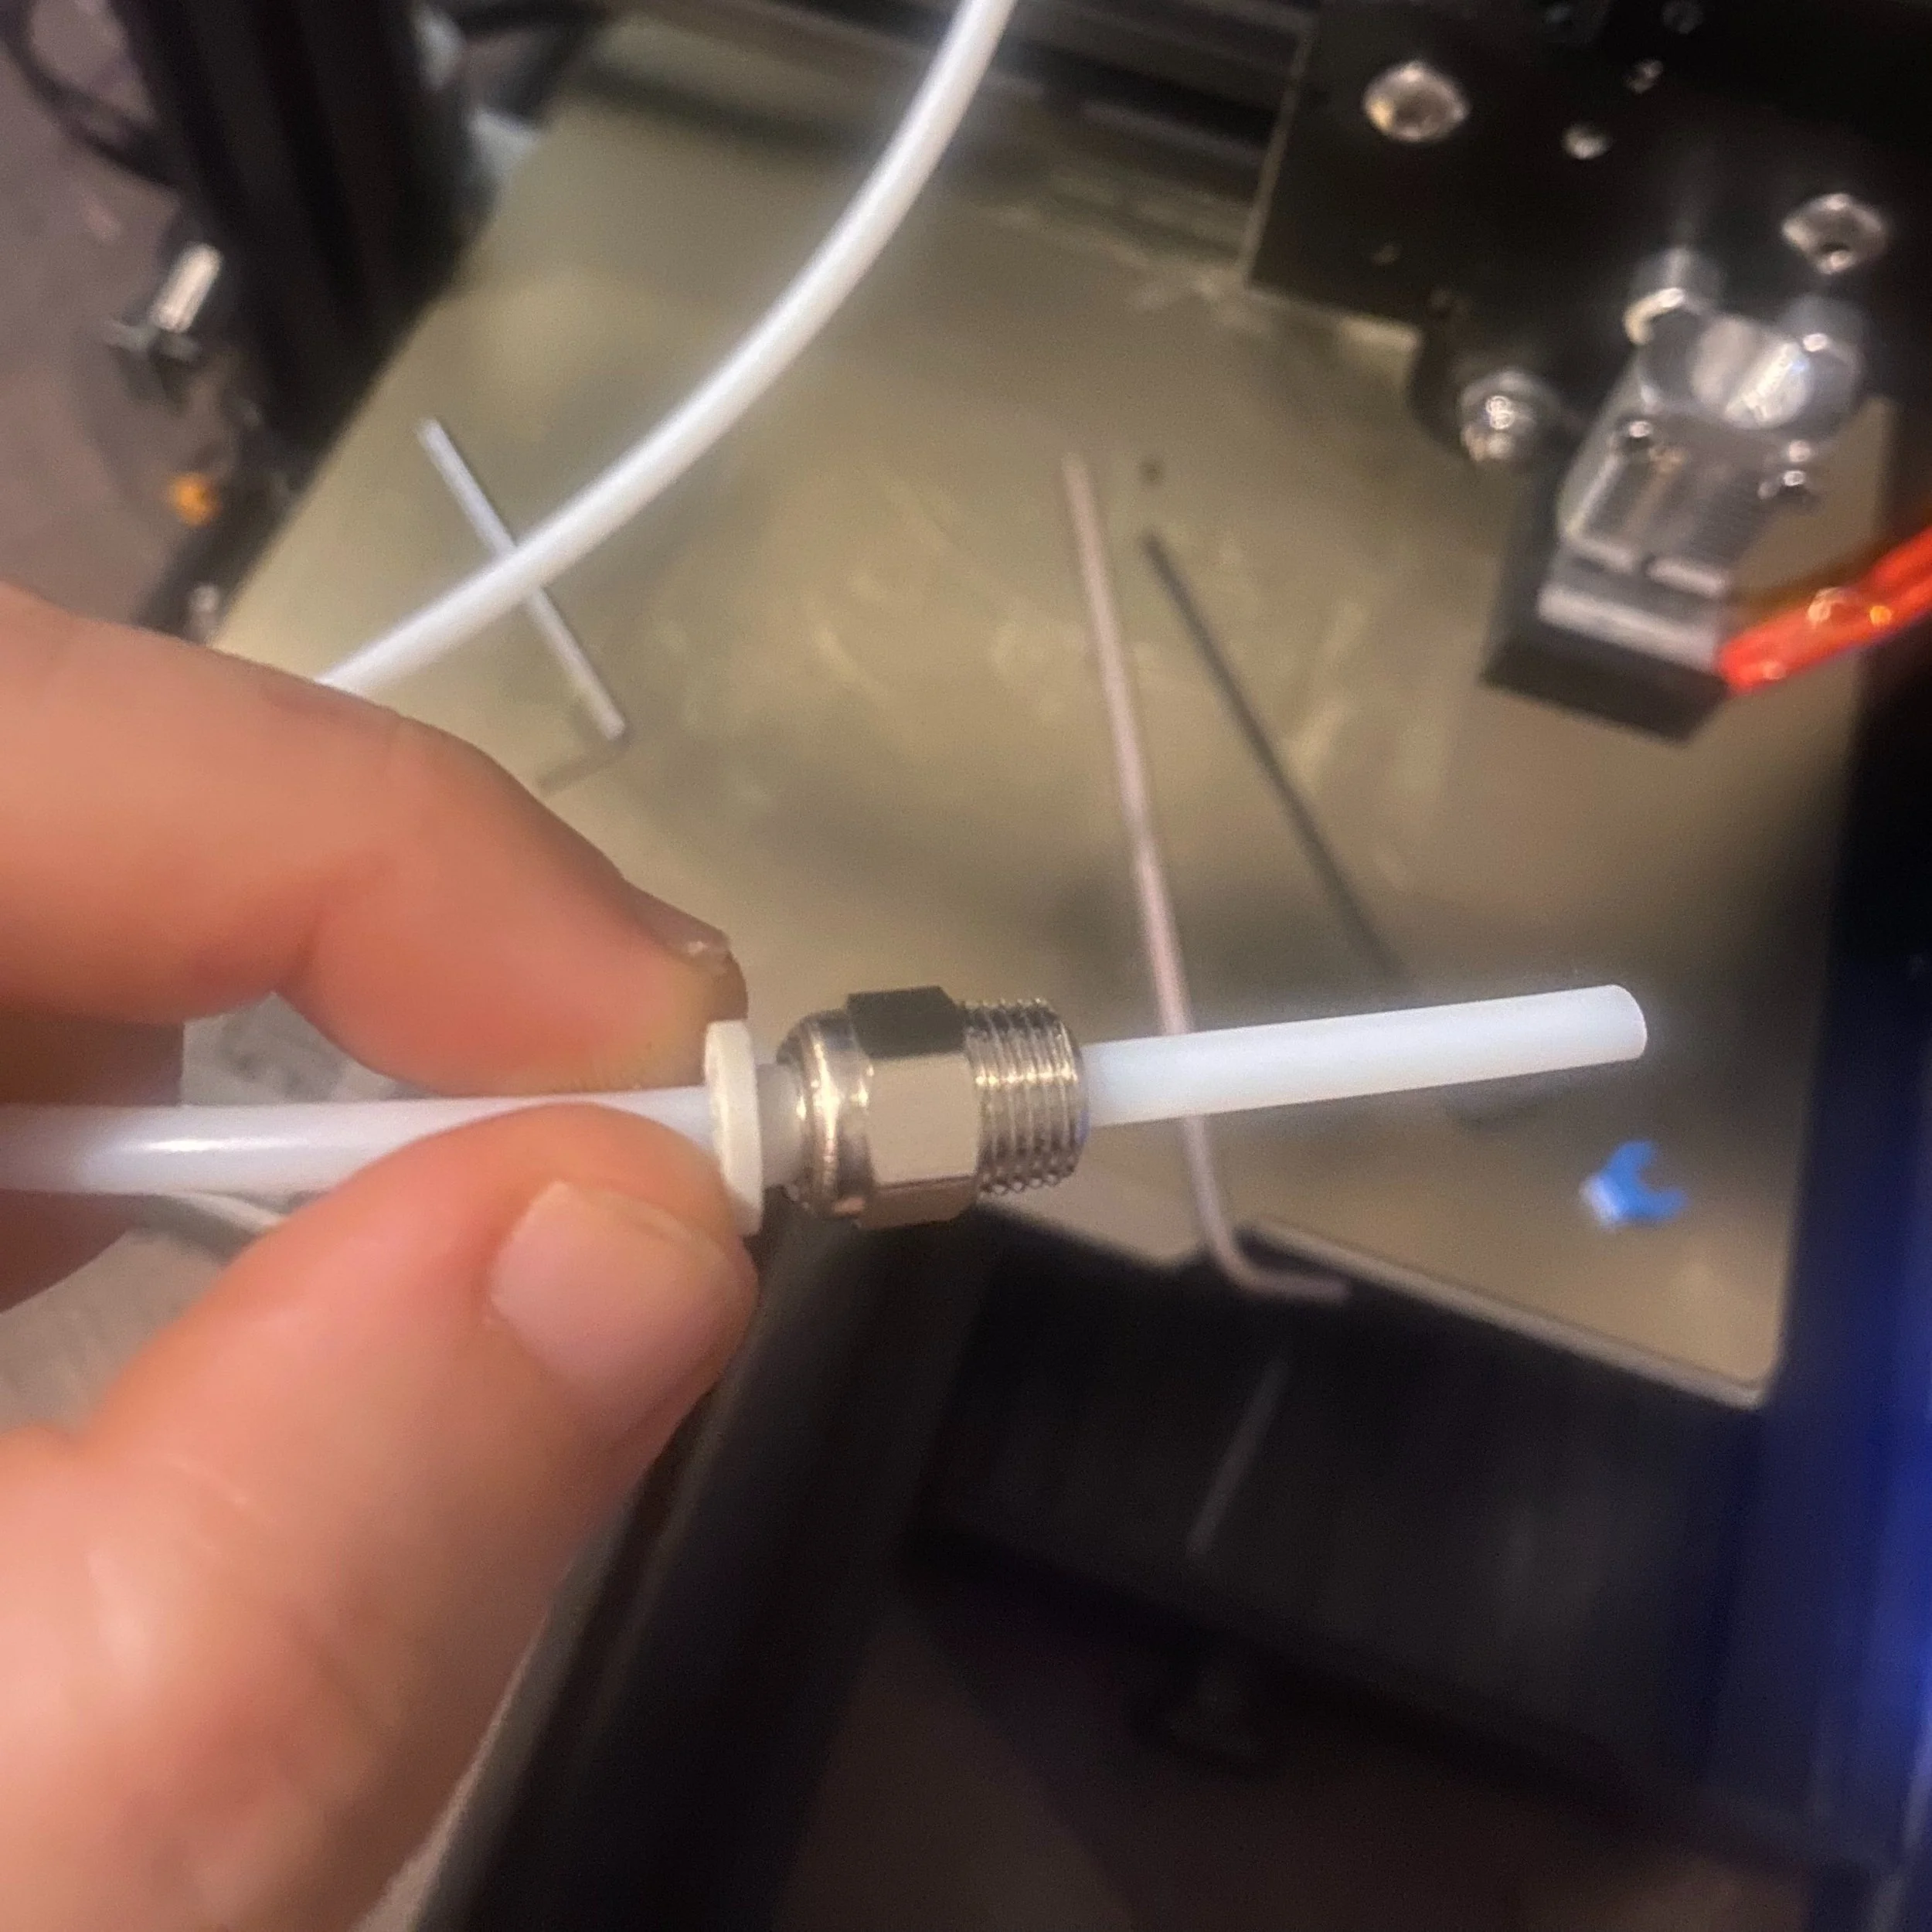
Remove the coupler from the tube by pressing the top plastic portion toward the metal coupler and sliding it off the tube. You’ll need the coupler later in this guide.
Use the larger side of the wrench to remove the coupling from the hot end.
The removed coupling and tube.
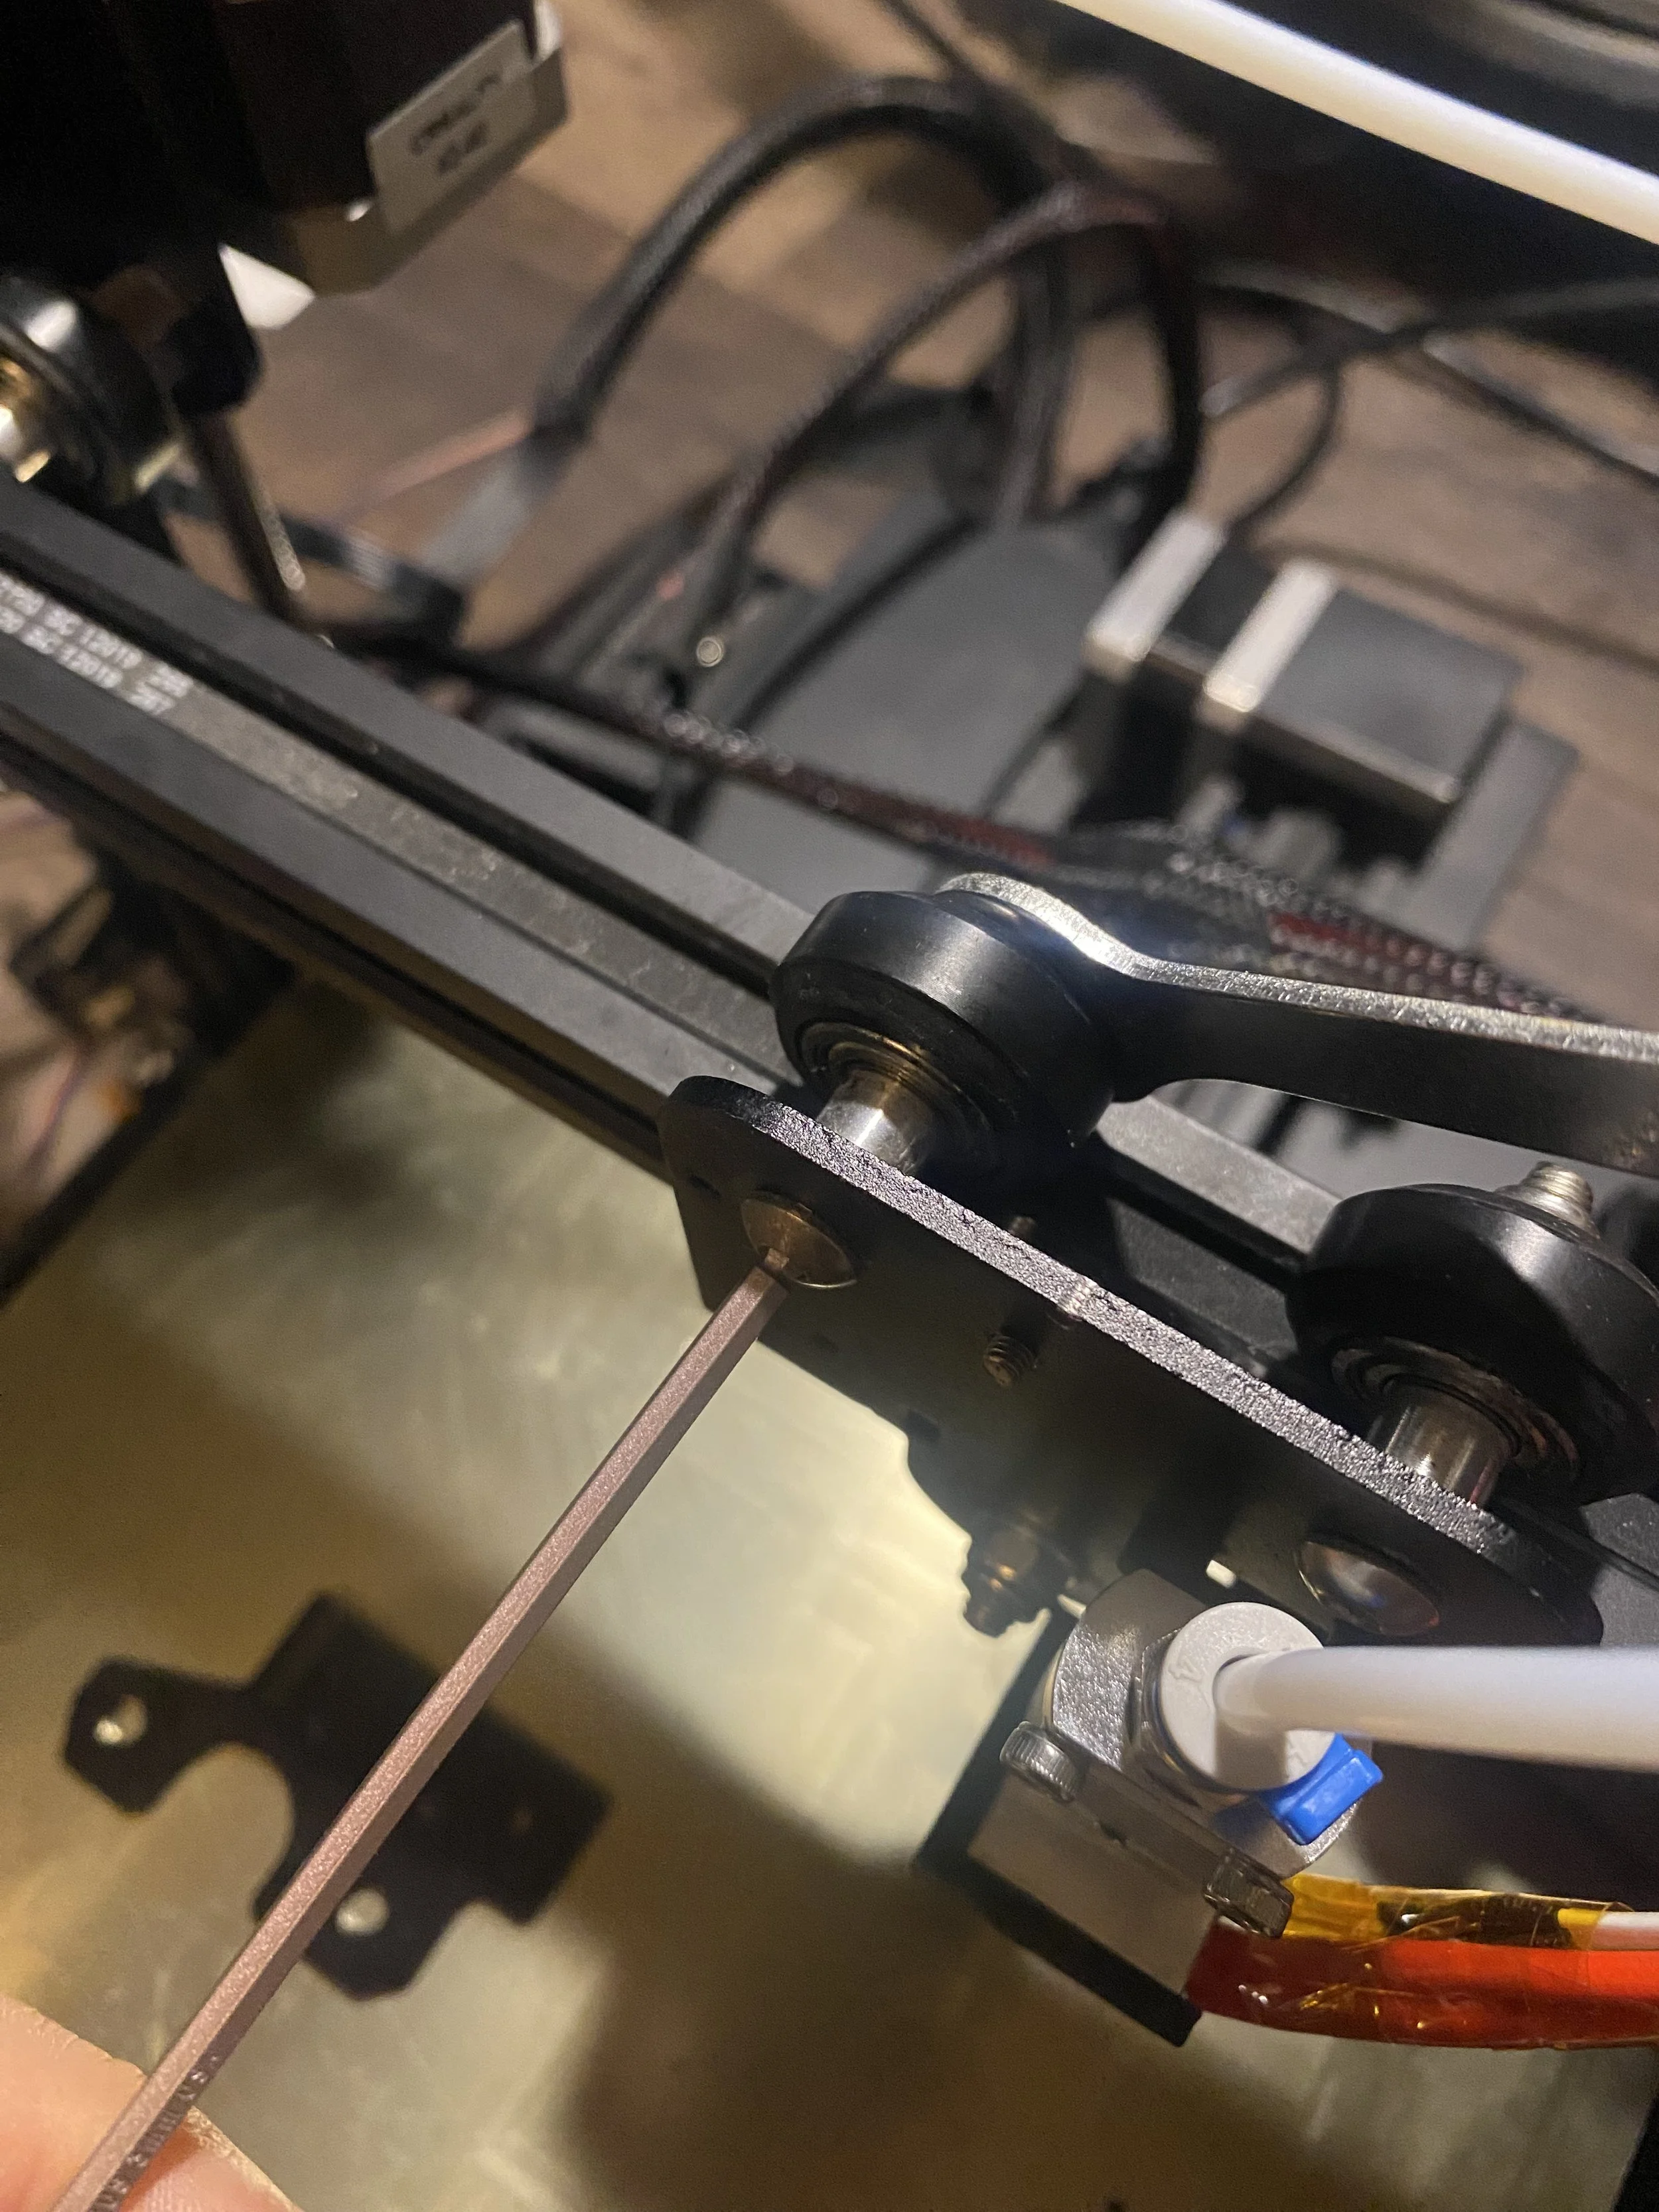
3. Remove the two wheels on the top of the extruder carriage. You’ll be putting them back on, but these screws are used to mount the metal mounting adapter for the new extruder. You will need the 3.5mm Allen wrench and the flat wrench to remove the nut from the screw. Remove and set aside the wheels, spacers, and nuts, but leave the screws in place.
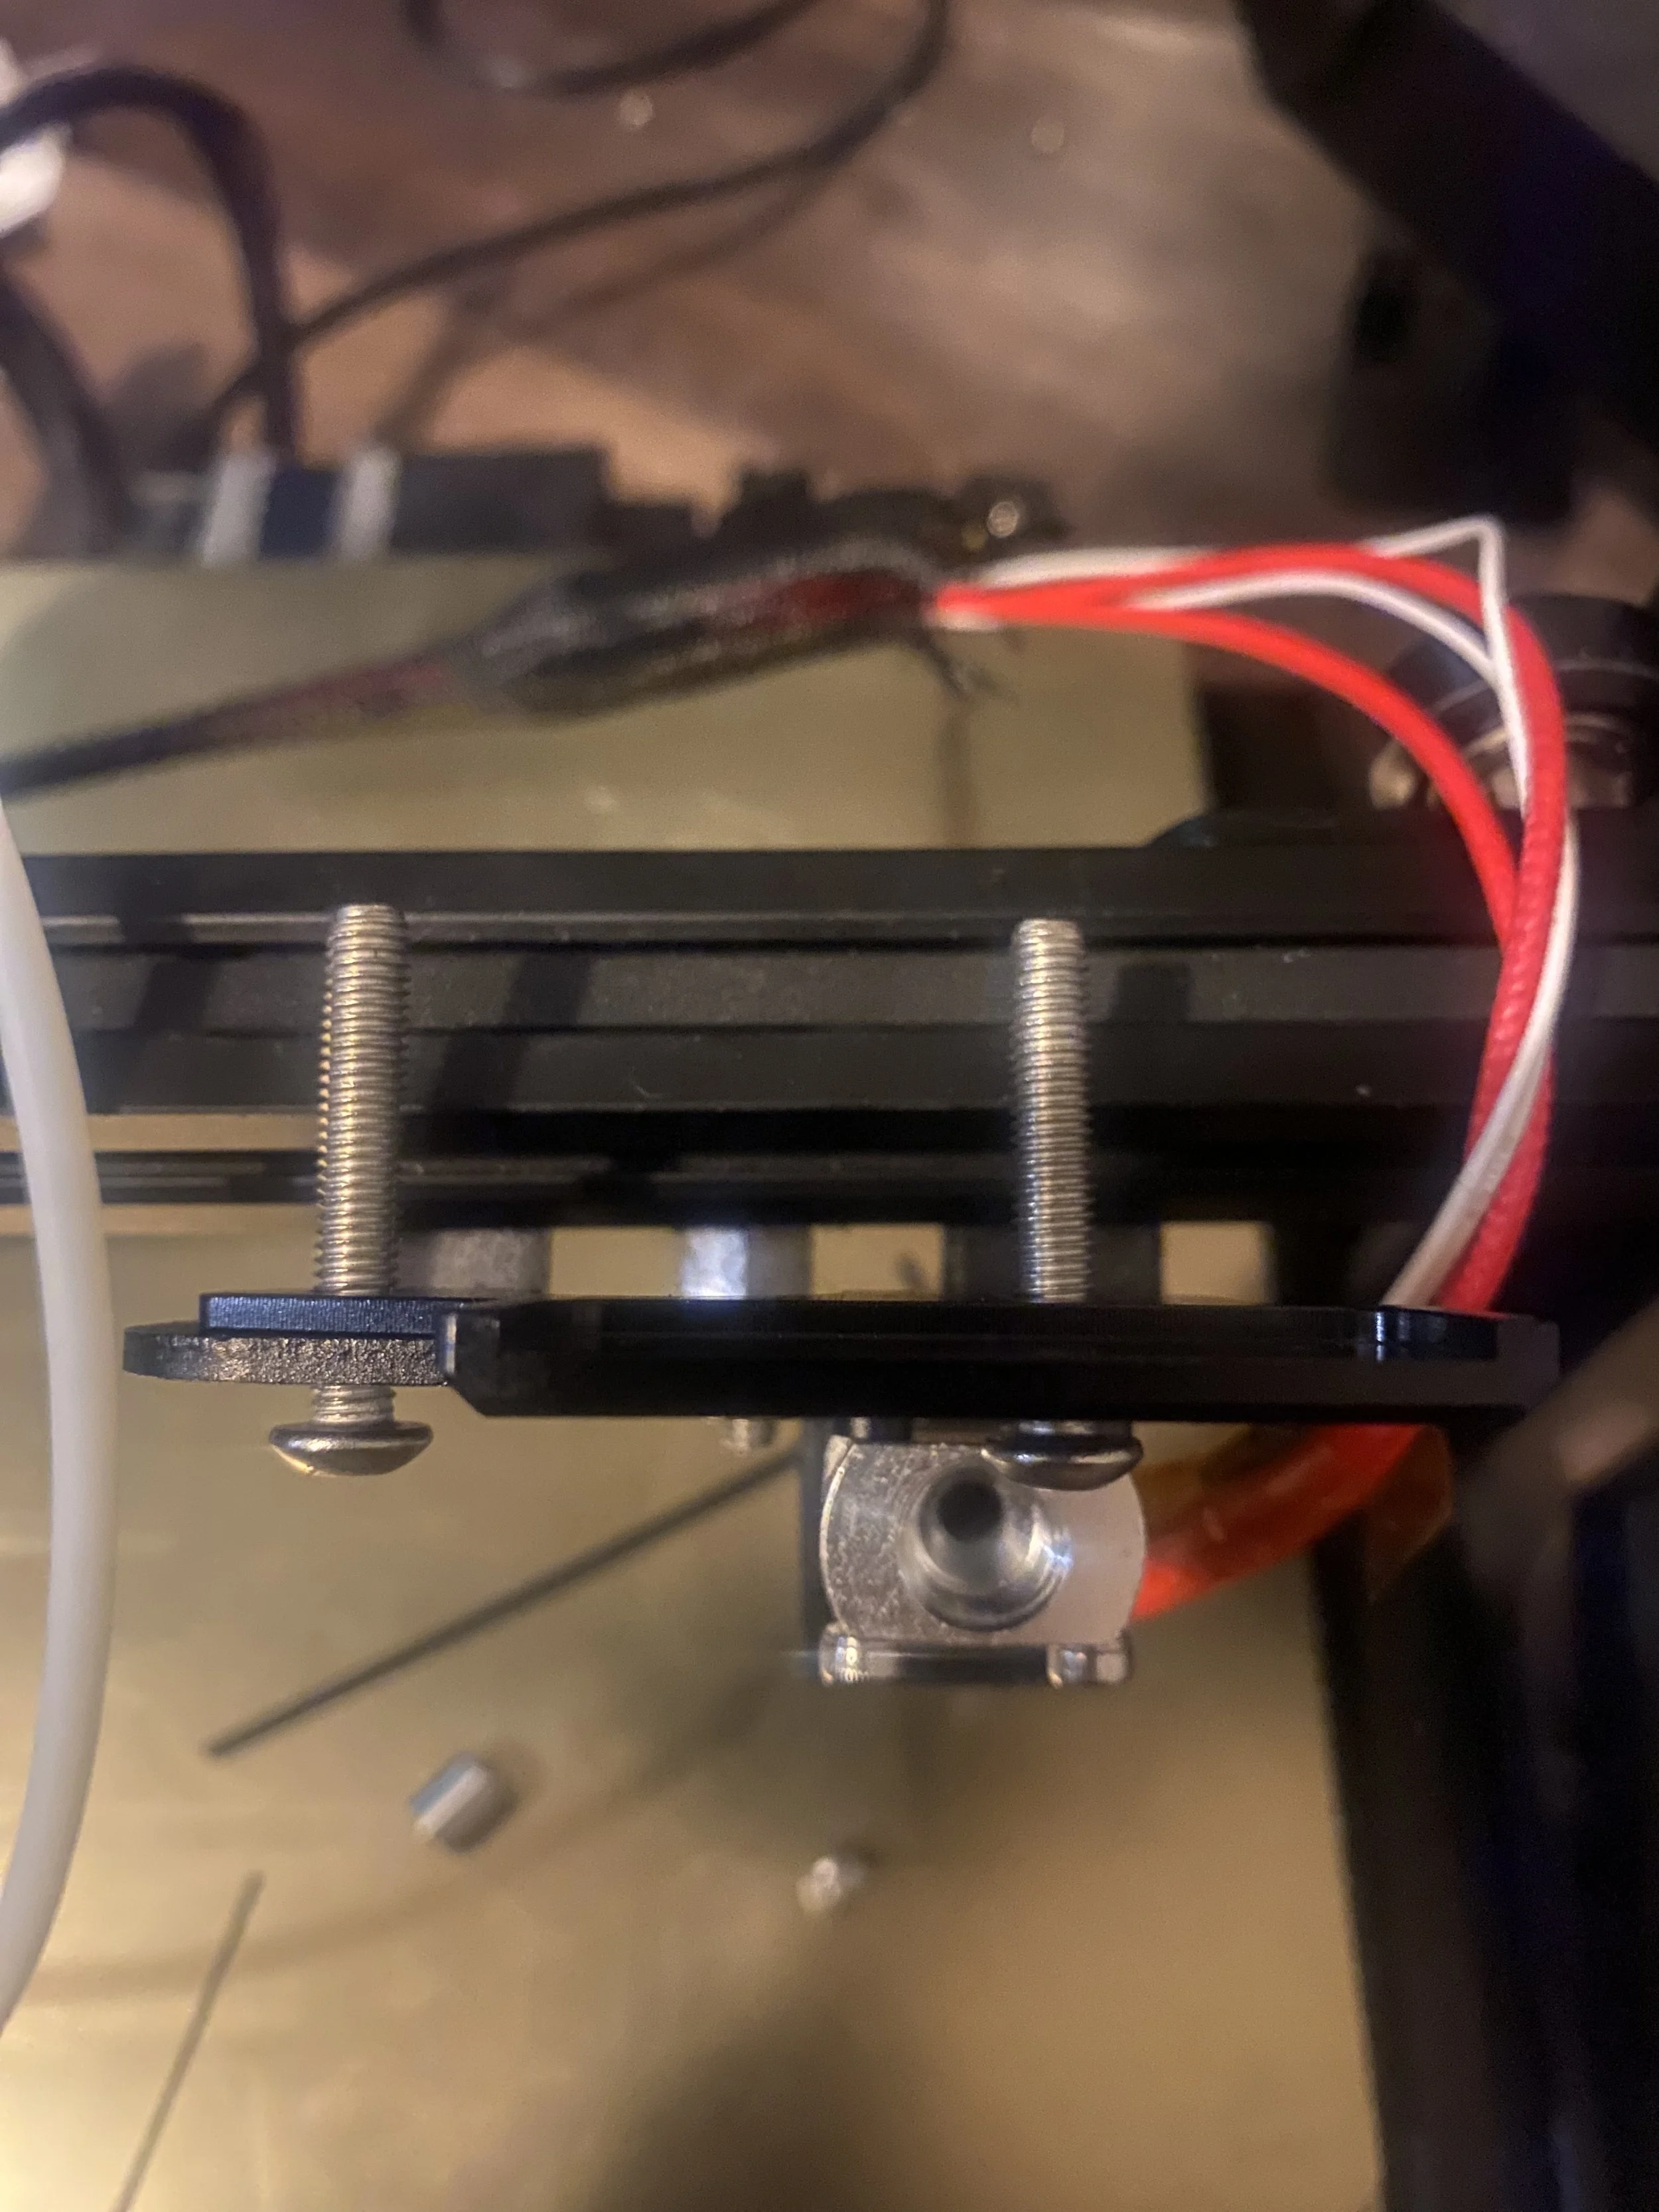
4. Mount the adapter to the extruder carriage using the two screws. The indention on the top of the adapter should be facing toward the rear of the printer.
5. Reattach the spacers, wheels, and nuts in the same order that they were removed, and tighten the screws.
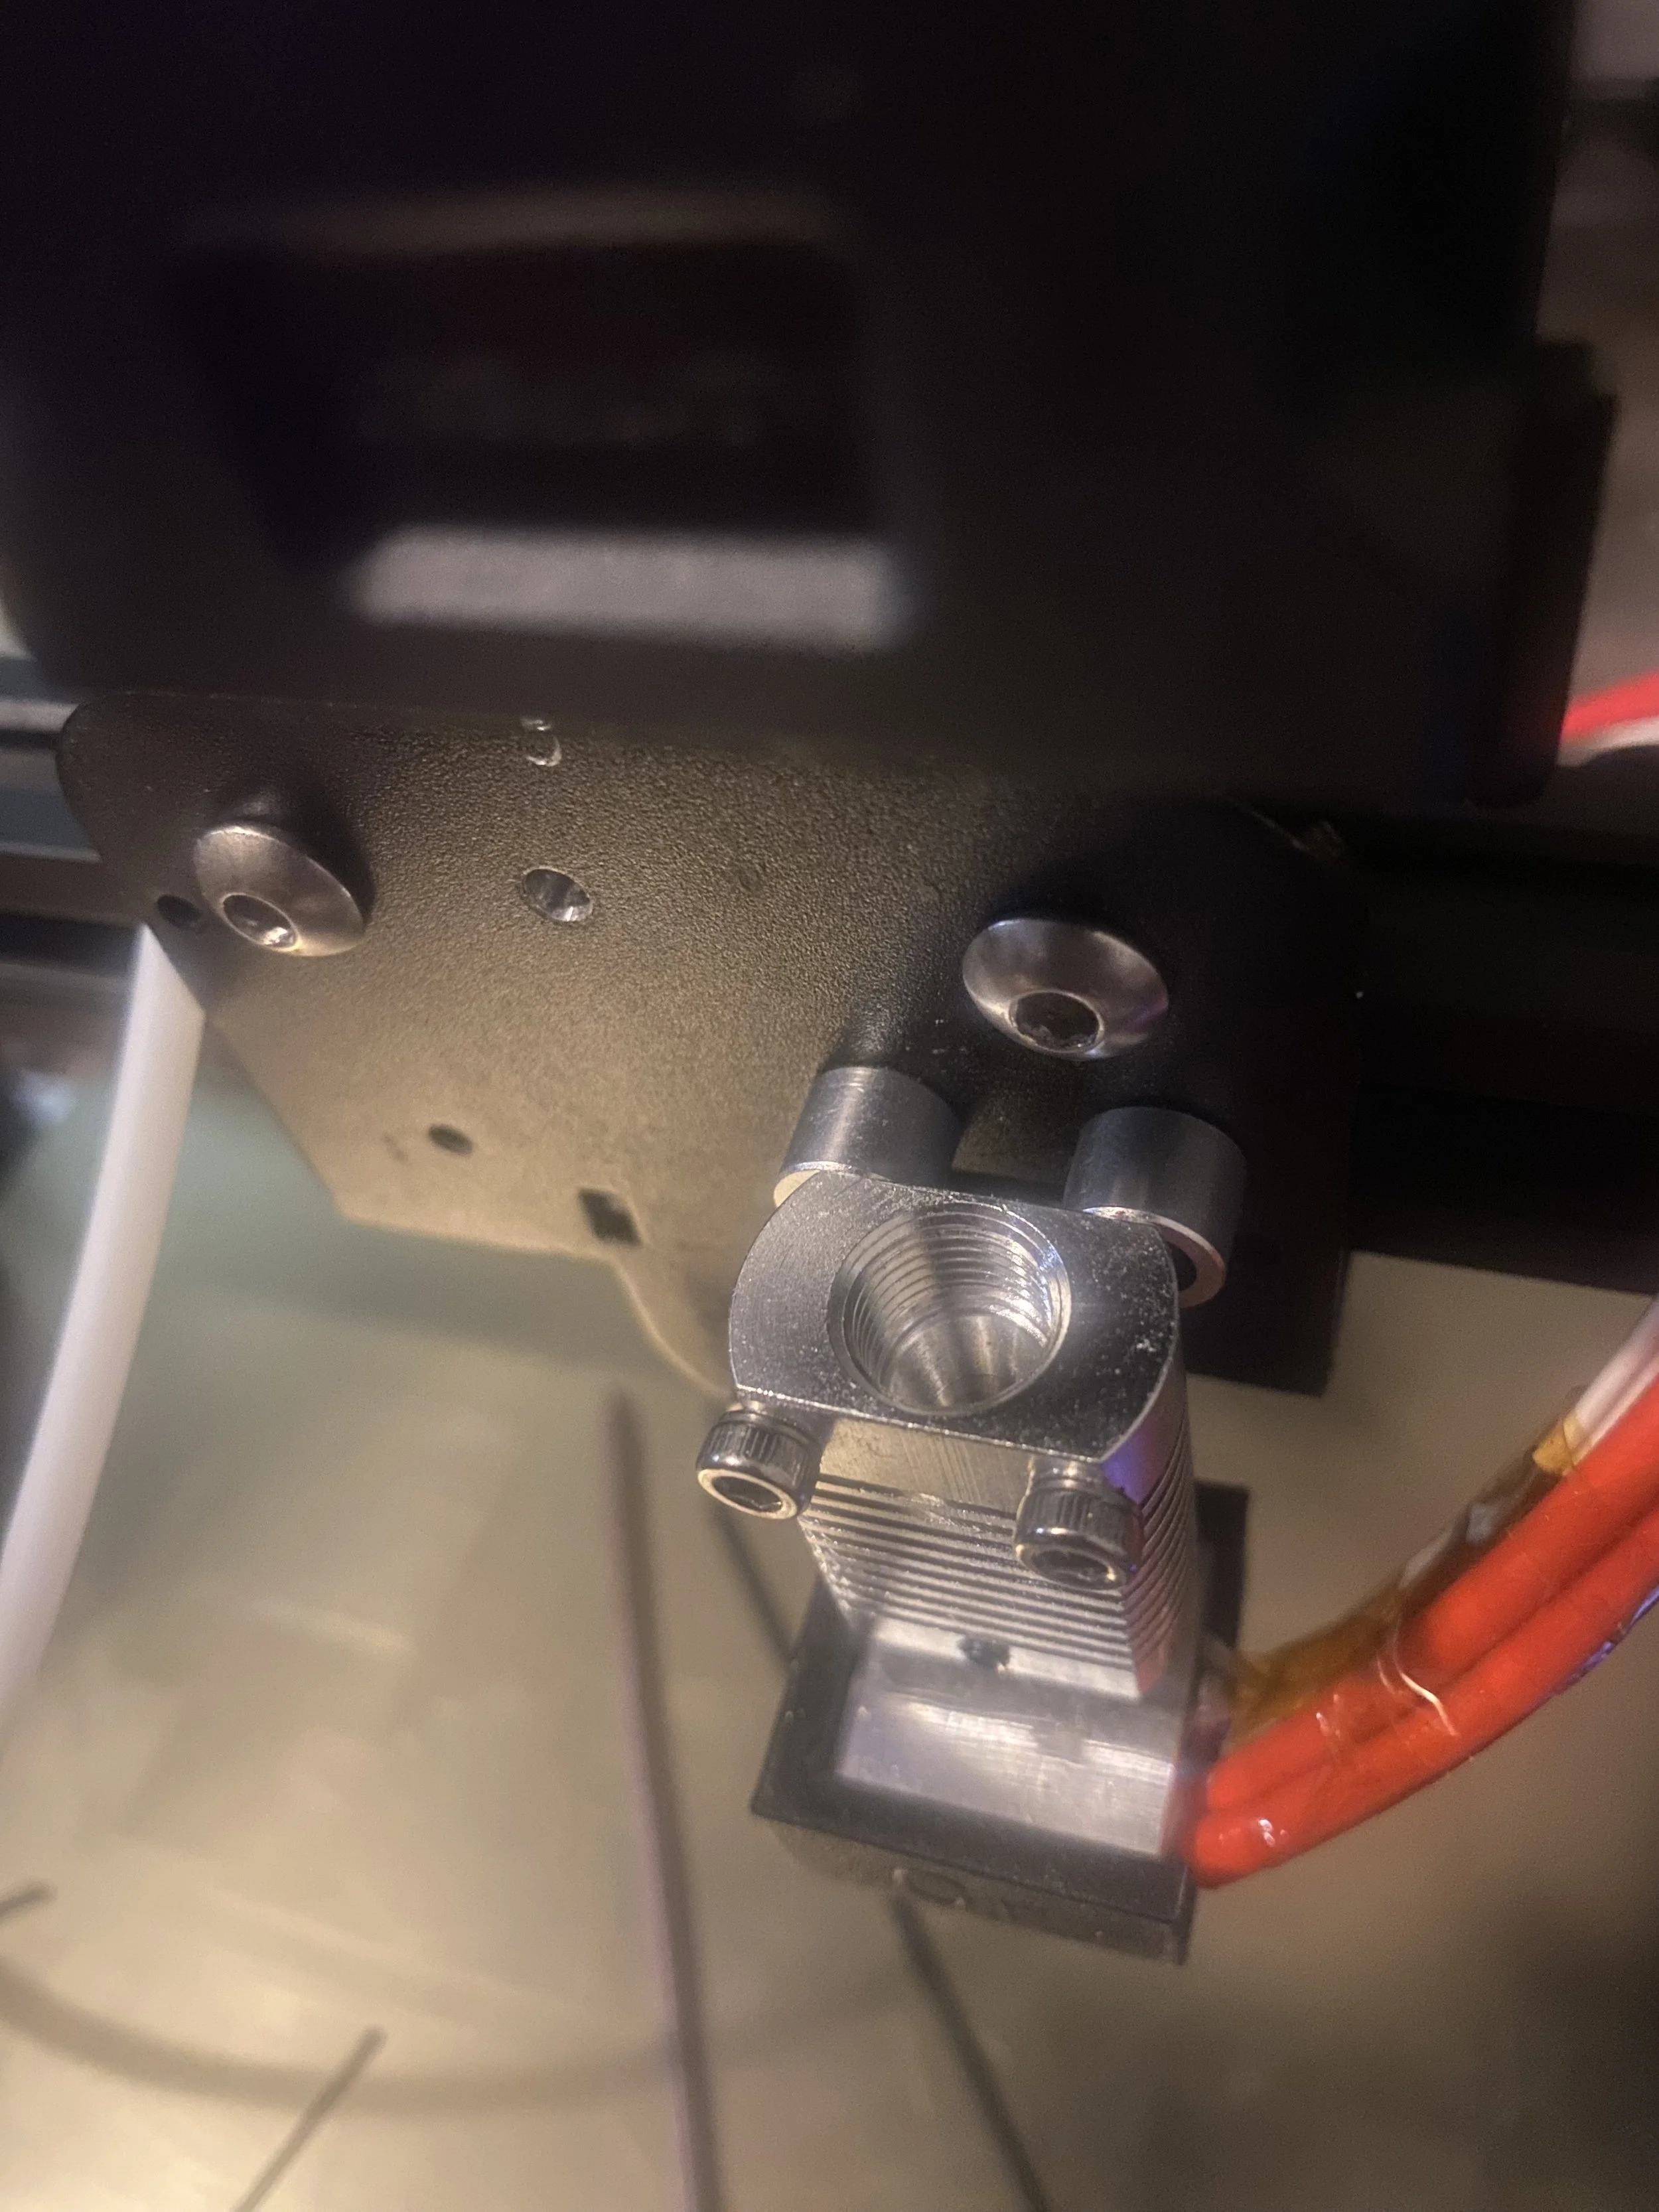
6. Next, you’ll need to add spacers to the hot end mount so that it is aligned with the extruder. Remove the two screws holding the hot end to detach it from the printer.
7. Add the included spacers to the hot end mount, then reattach the hot end. Make sure to firmly tighten the screws.
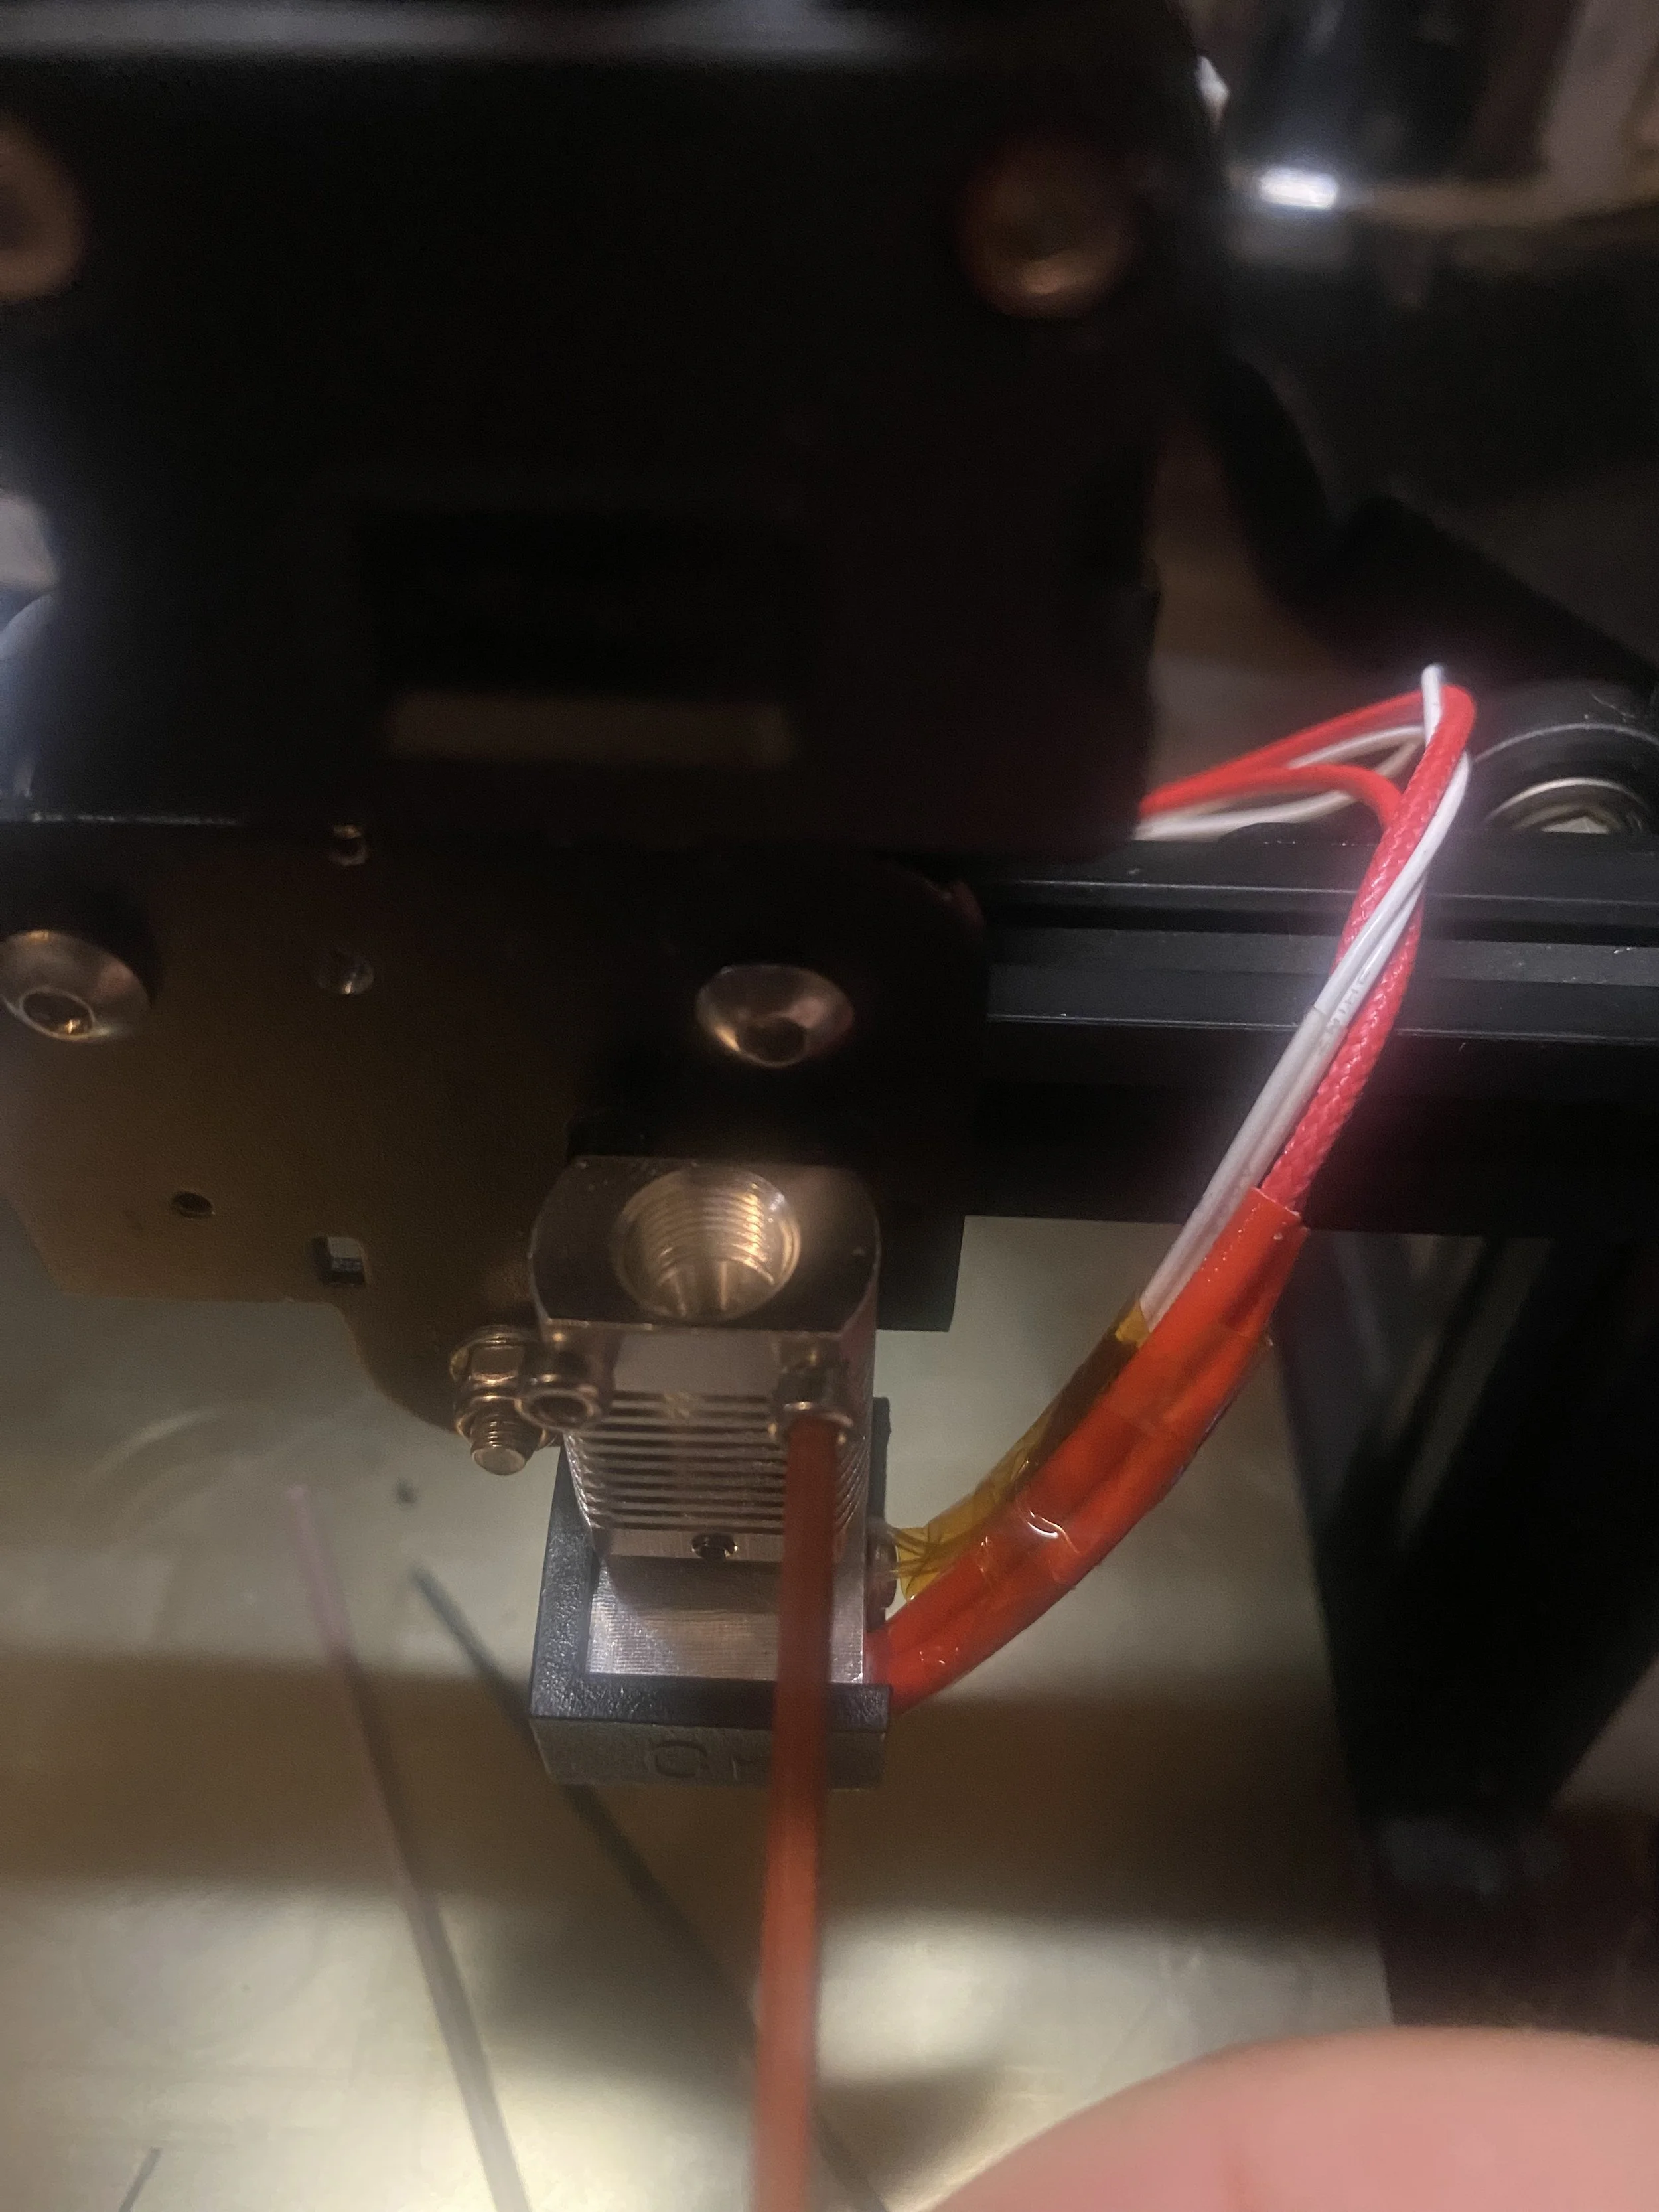
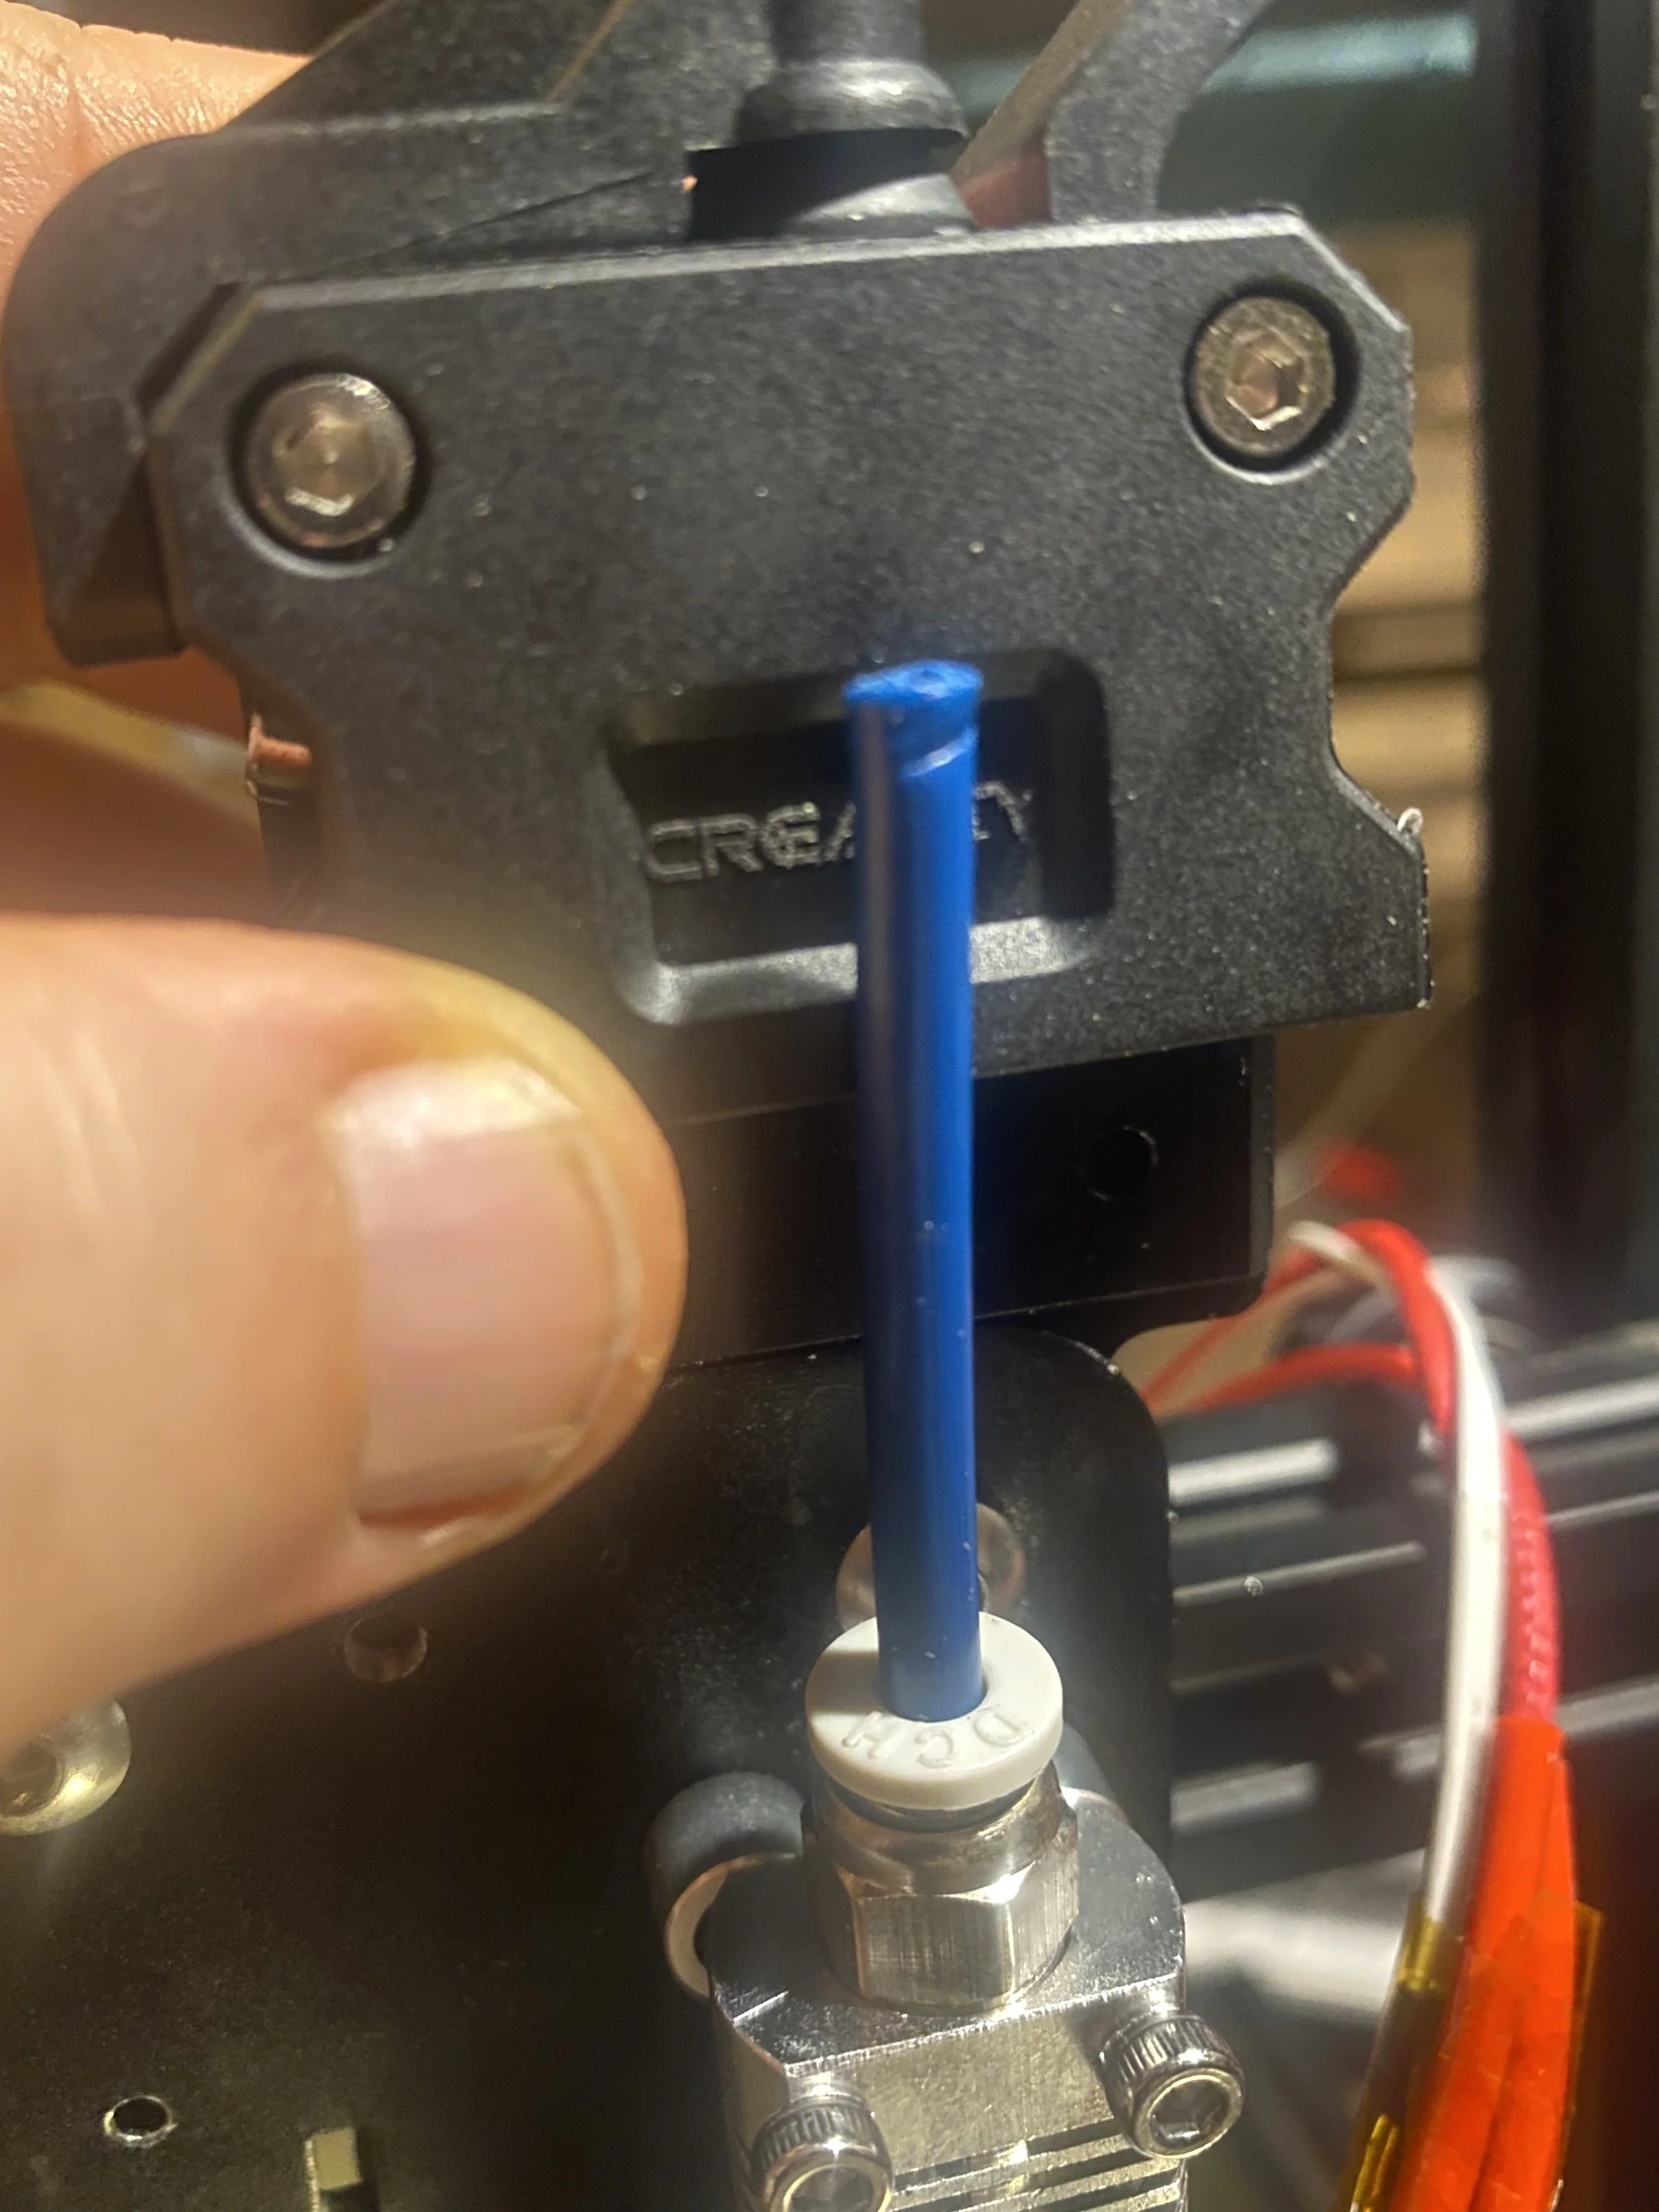
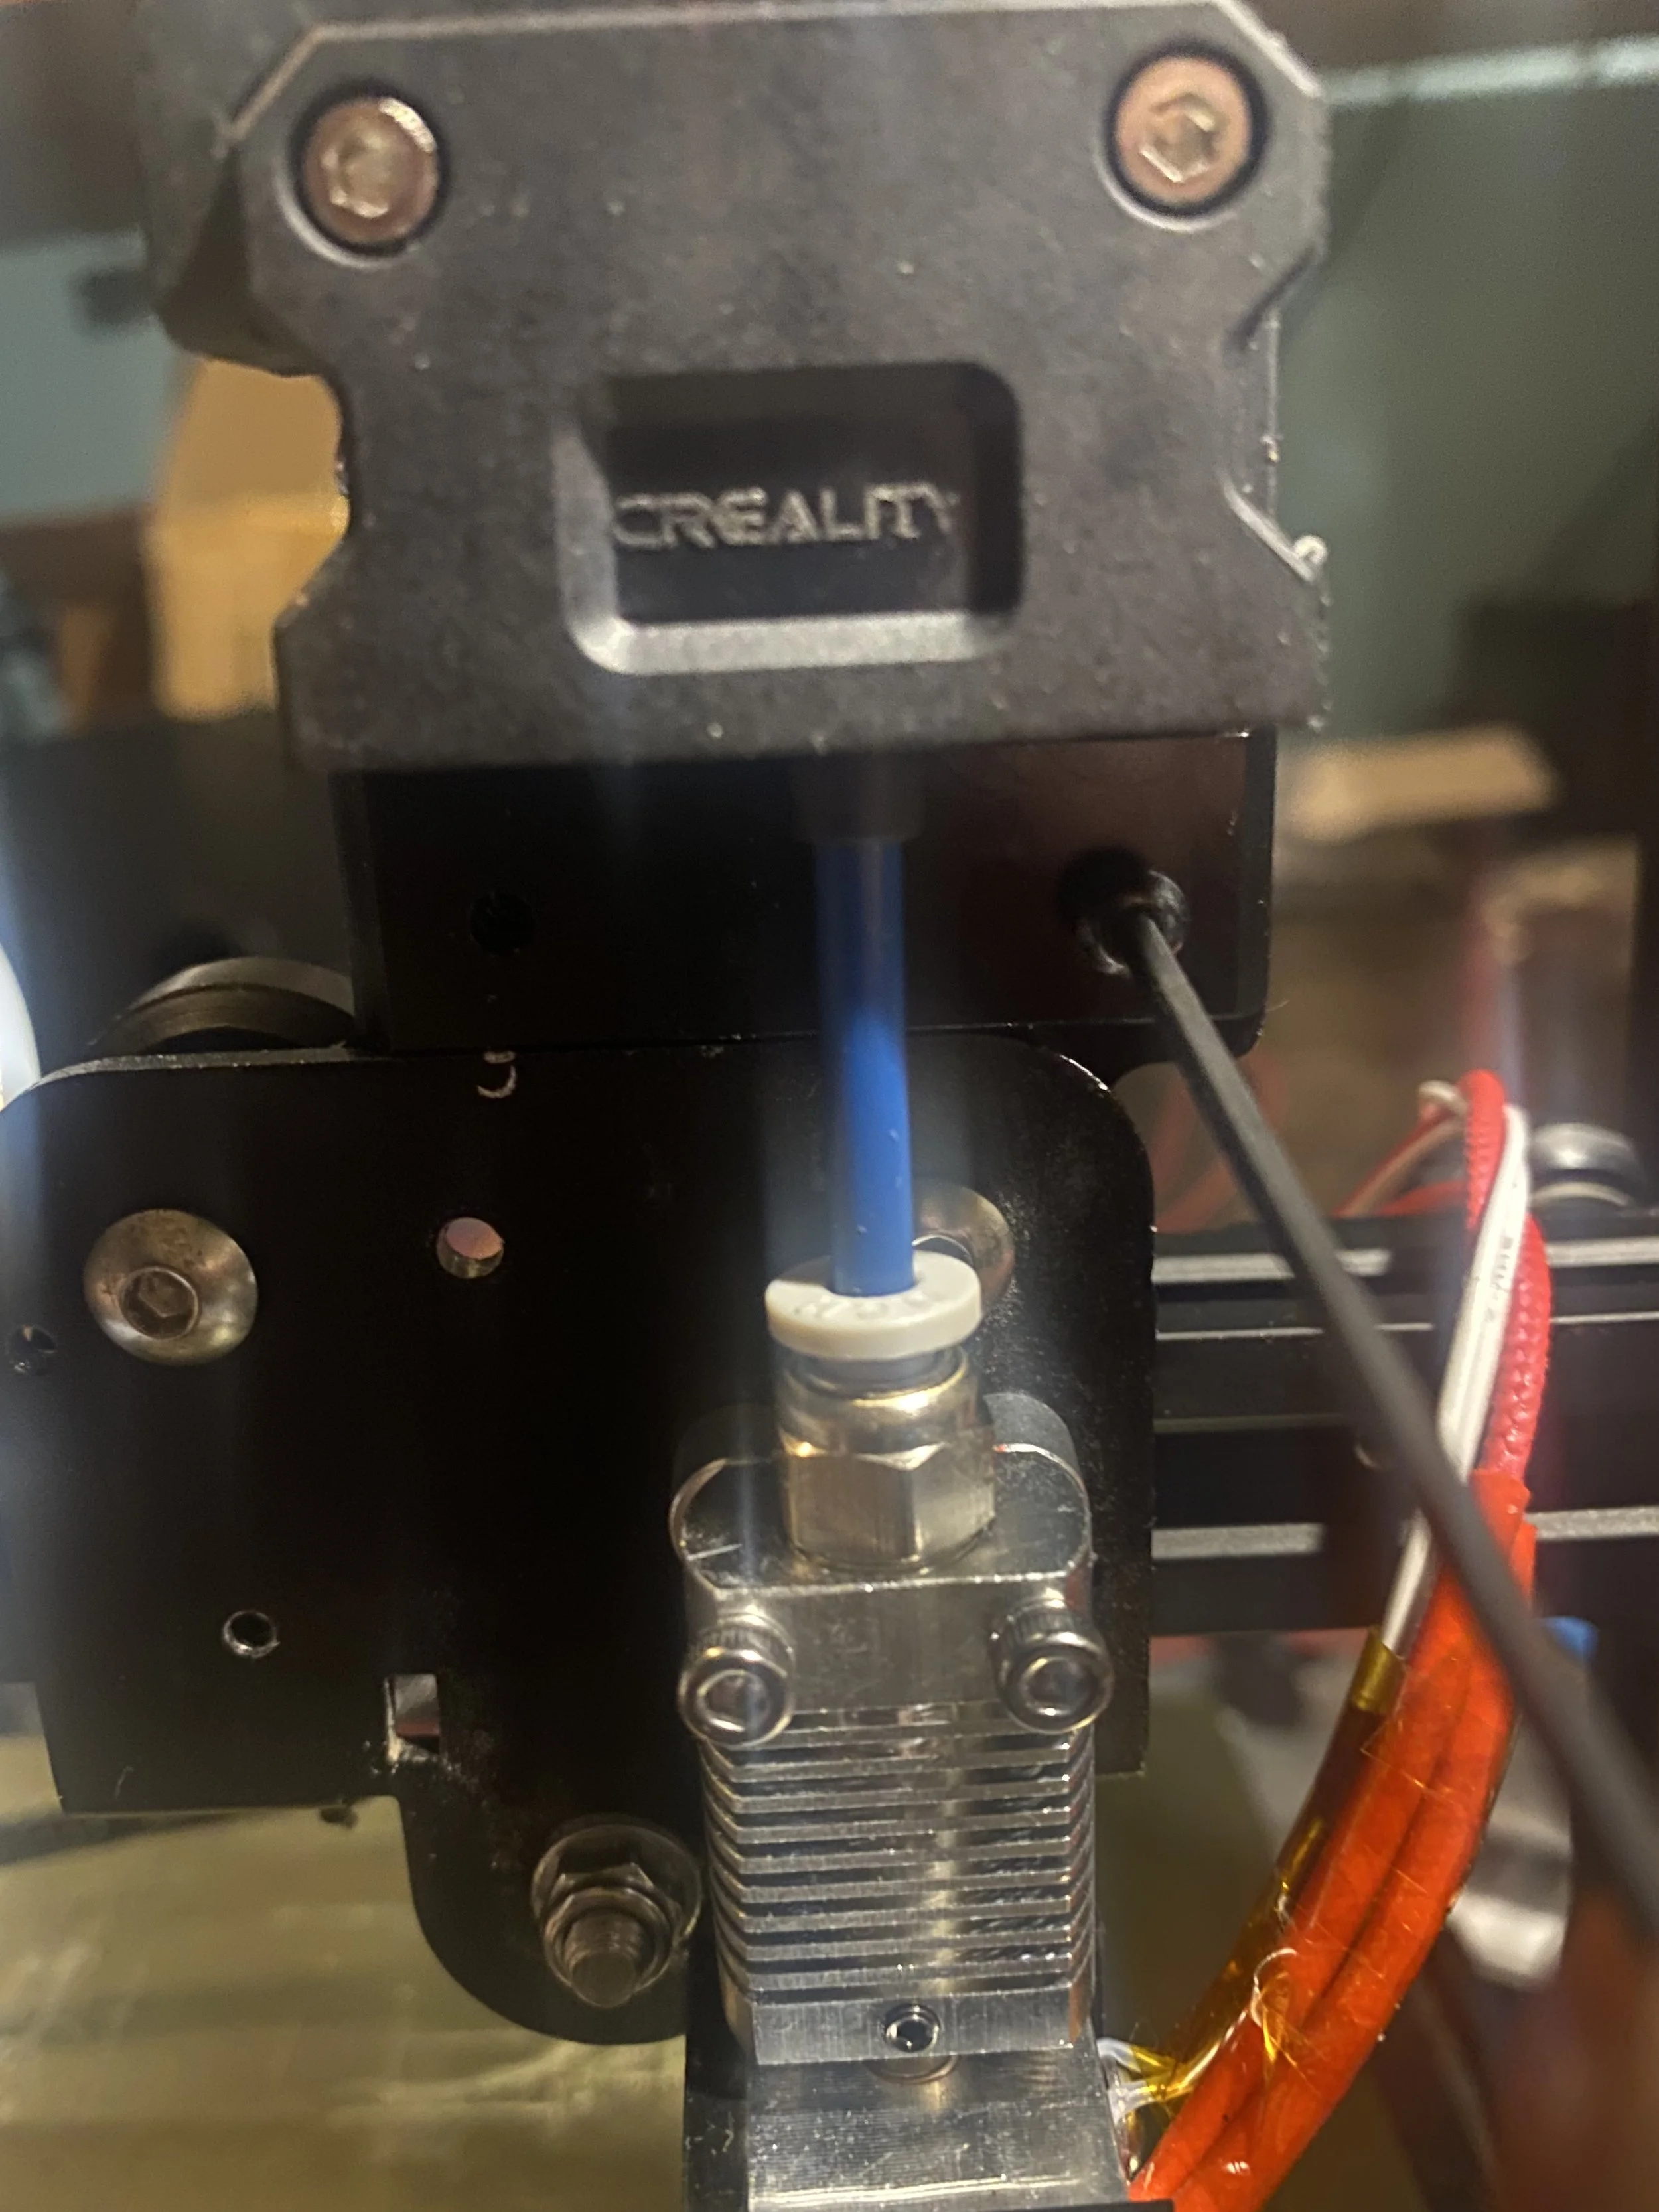
8. Reattach the coupler to the hot end cooling block, but leave it approximately a half-turn from fully tight. Then, insert the PTFE tube segment included with the new kit until it cannot go further into the hot end. Finally, use the wrench to tighten the coupler the remaining distance.
9. Before mounting the Sprite extruder, you need to cut the included PTFE tube to the proper length. You can use the extruder to measure the correct length as shown below. The tube should extend to the top of the Creality logo box. Once the tube is cut, ensure the opening is not obstructed or squished. You can use the point of the closed nippers to round out the tube.
10. Slide the tube into the base of the extruder. If cut correctly, the tube will reach the bottom of the hole once the extruder is lined up with the mounting bracket.
11. Attach the Sprite extruder to the mounting bracket using the included screws and the 2.5mm Allen wrench.
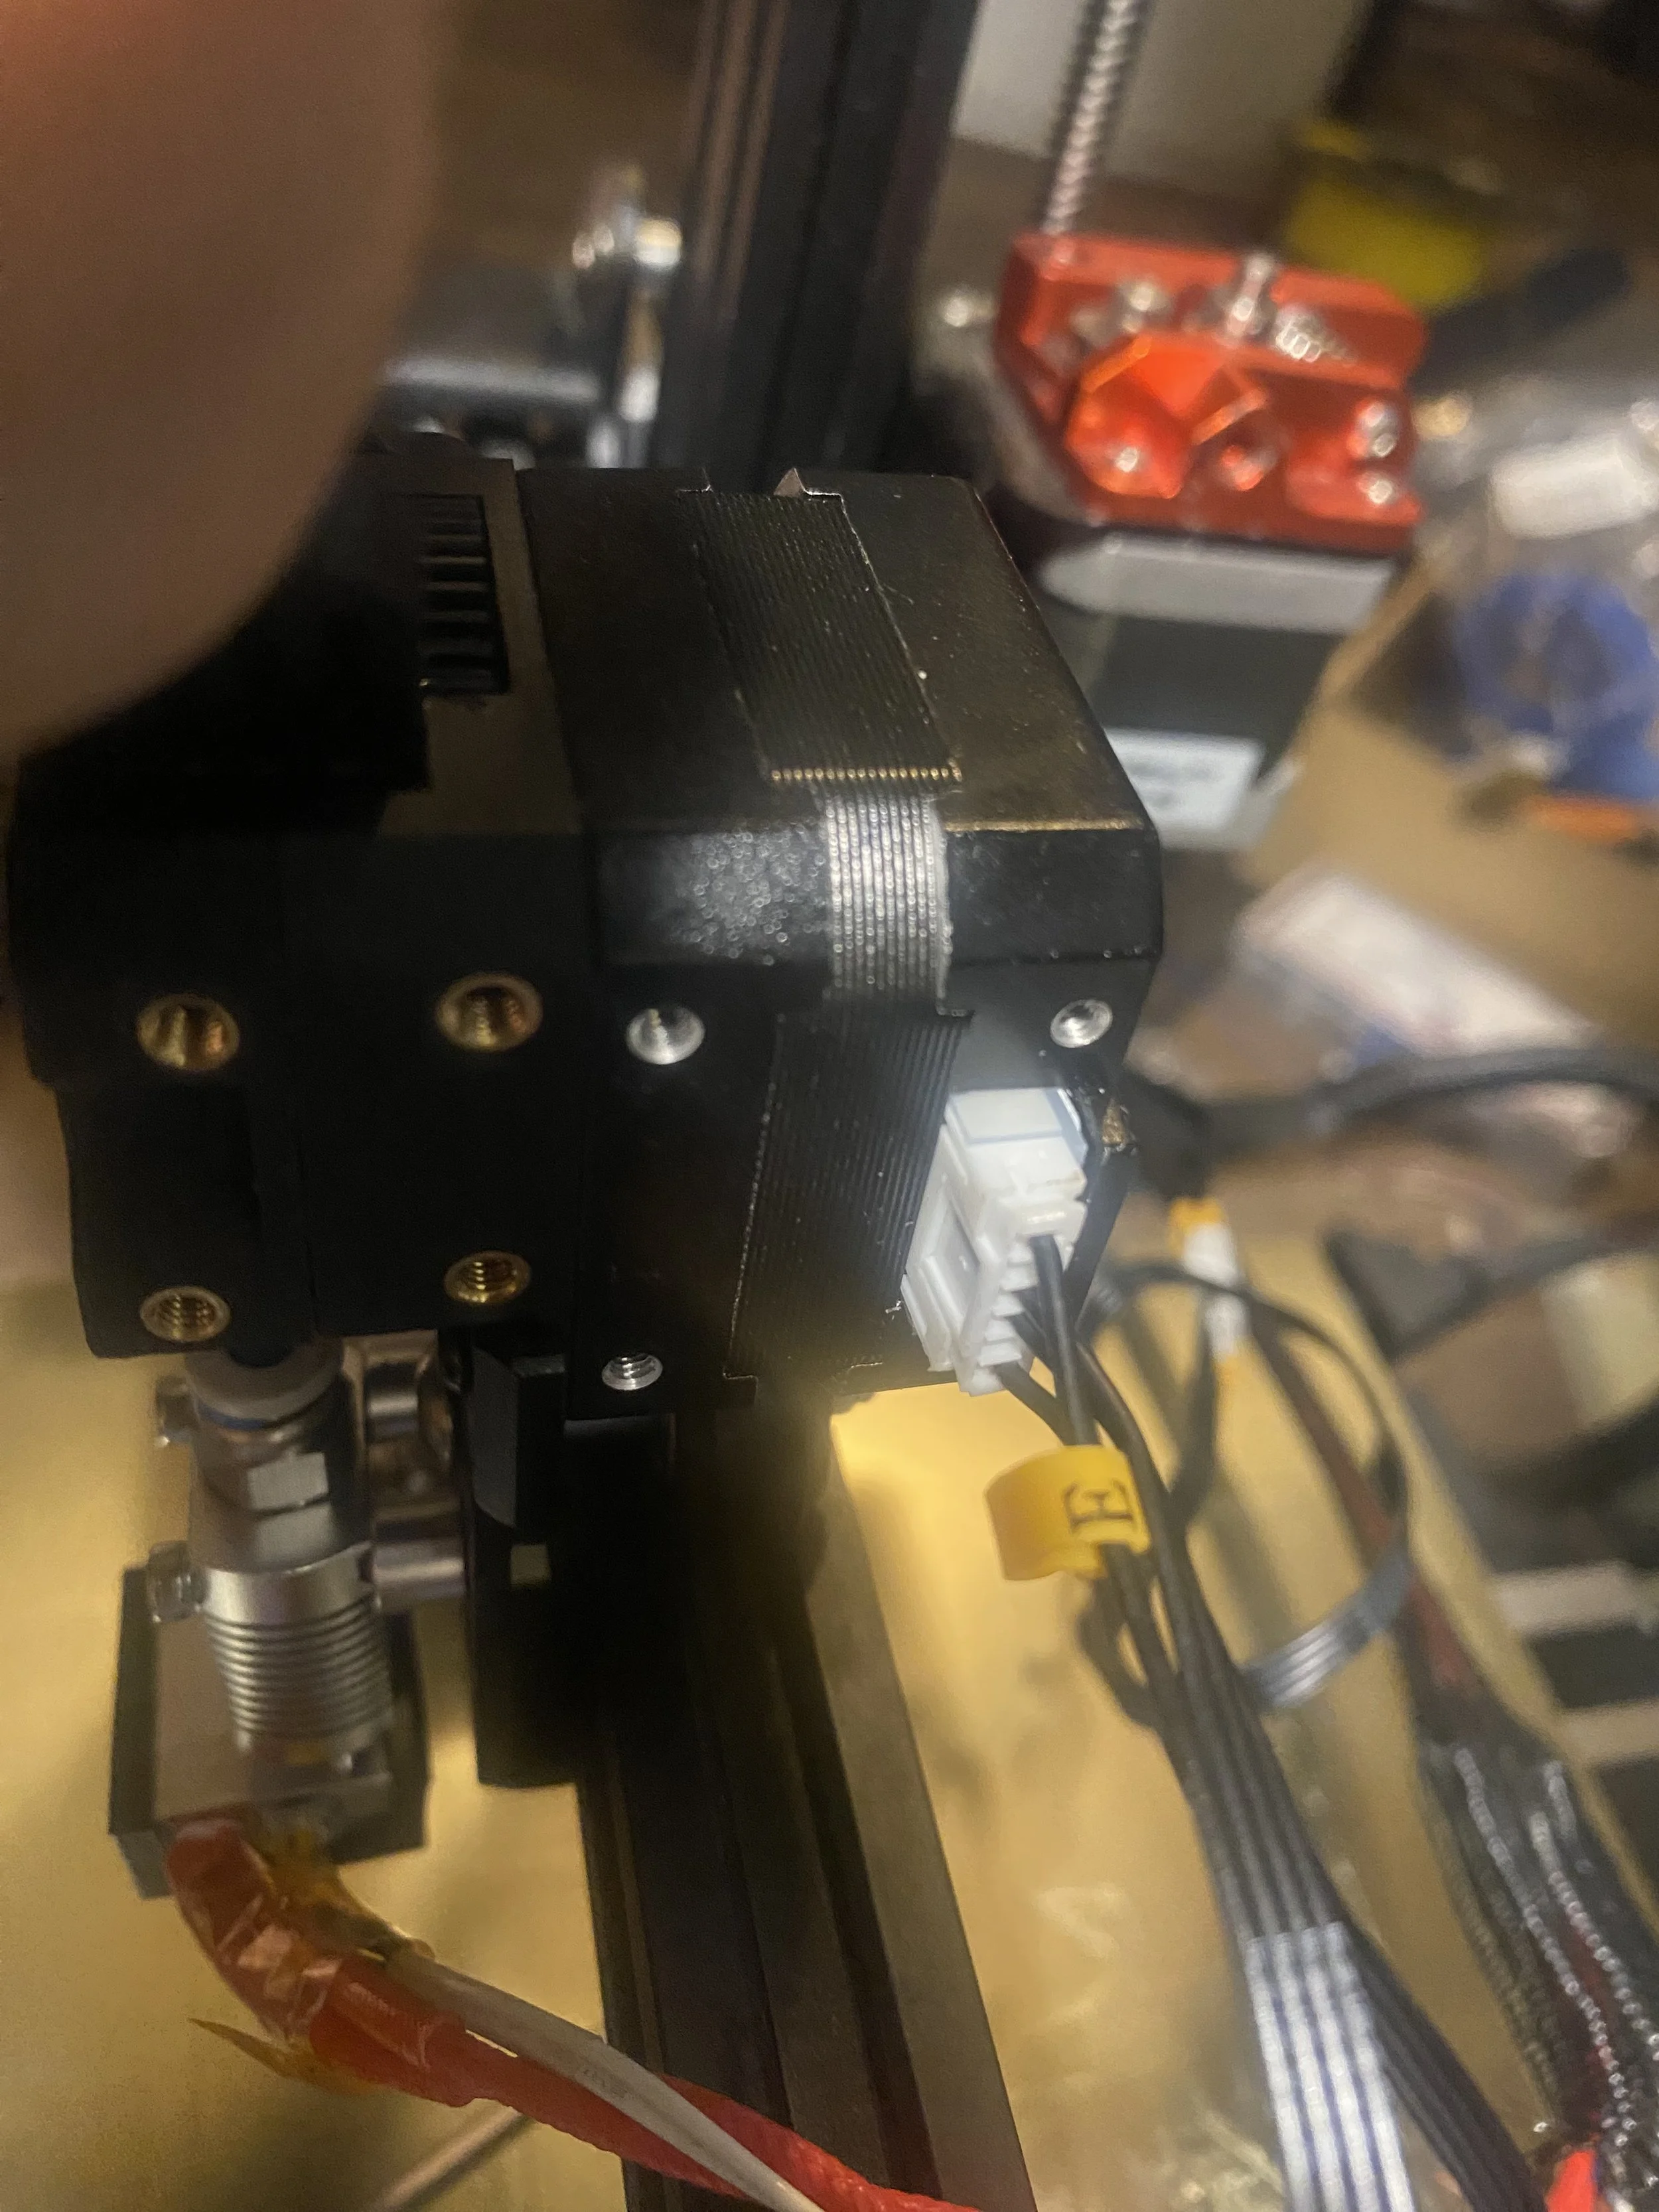
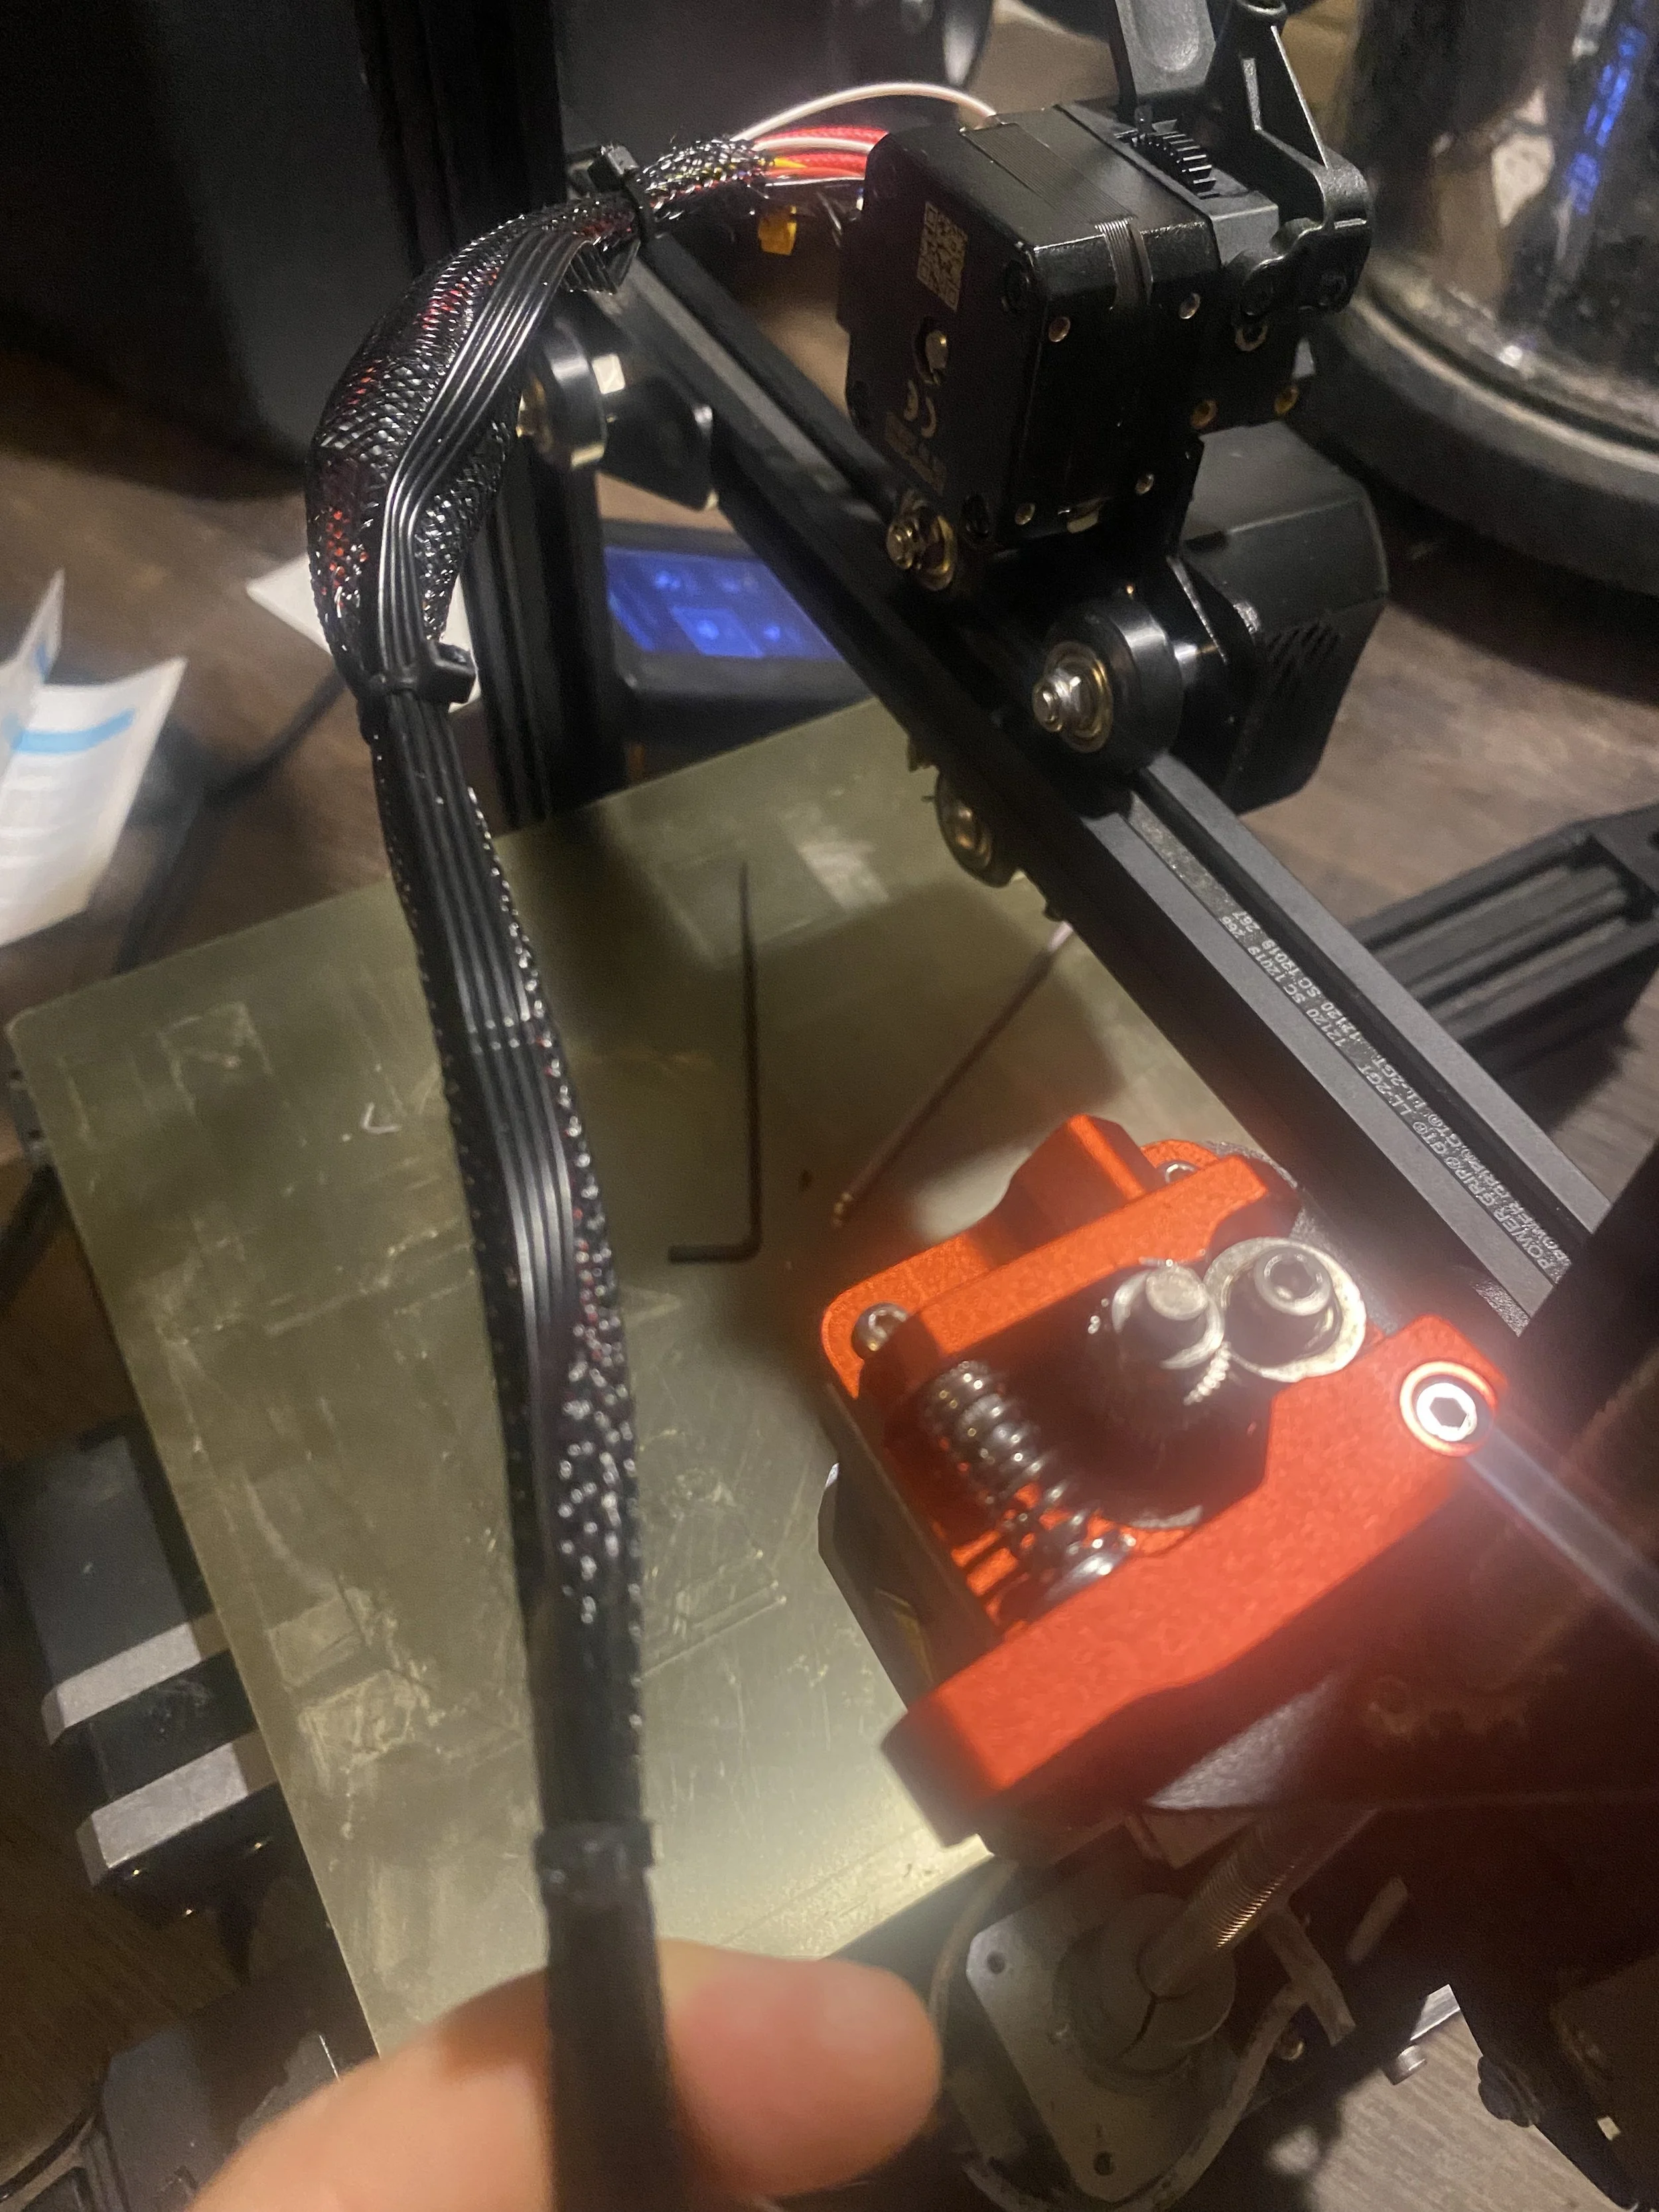
11. Remove the extruder motor cable from the existing Bowden extruder motor, and attach the included extension cable. Connect the extension cable to the Sprite extruder motor.
12. Use the included zip ties to bundle the extruder cable to the other cables for the hot end.
13. Reinstall the hot end enclosure. The hardware installation is now complete. We also recommend removing the Bowden extruder assembly and motor at this point. You no longer need it, and it adds unnecessary weight to the printer gantry.
Configuring and Testing the Extruder
Now that you have completed the installation process, you will also need to adjust the e-steps setting on your printer to compensate for the gear ratio of the Sprite extruder. You’ll also need to adjust the retraction settings in your slicer software.
E-Steps for the Sprite Extruder
The Sprite extruder-only upgrade requires a different e-step value, which is a setting that controls how far the printer needs to turn the extruder motor to extrude a certain amount of filament. You can configure the e-steps for the Sprite extruder using this process:
On the printer controller, navigate to Control -> Motion -> Steps/mm, and adjust the Esteps/mm value to 424.9. Then navigate back to the Control menu, select Store Settings, and hit Enter to save the setting.
On some printers, the printer will not allow you to set the e-steps value this high. For those printers, follow these steps:
On your computer, create a new text file with the contents:
M92 E424.9
M500
Save this file as “esteps.gcode” and save it to a microSD card to put in your printer.Insert the microSD card into your printer. Use the Print menu to select the esteps.gcode file and press Print.
When this file completes “printing”, which should be instant, the e-steps value will be set and saved to the printer’s memory. You can remove the esteps.gcode file from the microSD card.
Next, verify that the extruder is working properly and is able to extrude filament.
Heat the nozzle by navigating to Prepare » Preheat PLA. Watch the temperature display on the printer and confirm that it heats up to the chosen temperature and maintains it. This confirms that the hot end is still wired properly and that nothing was damaged during the installation process.
Load filament into the extruder. On the Sprite extruder, you can use a finger to pull back on the spring-loaded lever, which will allow you to push filament all the way through the hot end to the nozzle.
Navigate to Prepare » Move Axis and move the Extruder axis to confirm the extruder feeds filament properly.
Retraction Settings for the Sprite Extruder
Because the Sprite extruder is a direct drive extruder and doesn’t need to push the filament through a long tube to the hot end, it requires a much shorter retraction distance than Bowden extruders. You should adjust the retraction settings in your slicer accordingly.
We recommend the following retraction settings:
Retraction distance: 1.5mm
Extra restart distance: 0.0mm
Retraction speed: 85 mm/s
Testing the Extruder
Finally, you are ready to try a test print with the new extruder. Once you’ve configured the e-steps and retraction settings, you can simply find a model, slice it with your slicer software, and print it to ensure everything works properly.
Now that you have a direct drive extruder, you should see improved performance on prints with frequent retractions. You’ll also have better results printing with flexible filament, such as TPU. Enjoy your upgraded 3D printer!
Click here to view the Creality Sprite extruder-only upgrade (Ender Neo models) on Amazon.

